When the leaves begin to change and the air turns crisp, I find myself drawn to the comfort of my quilting studio.
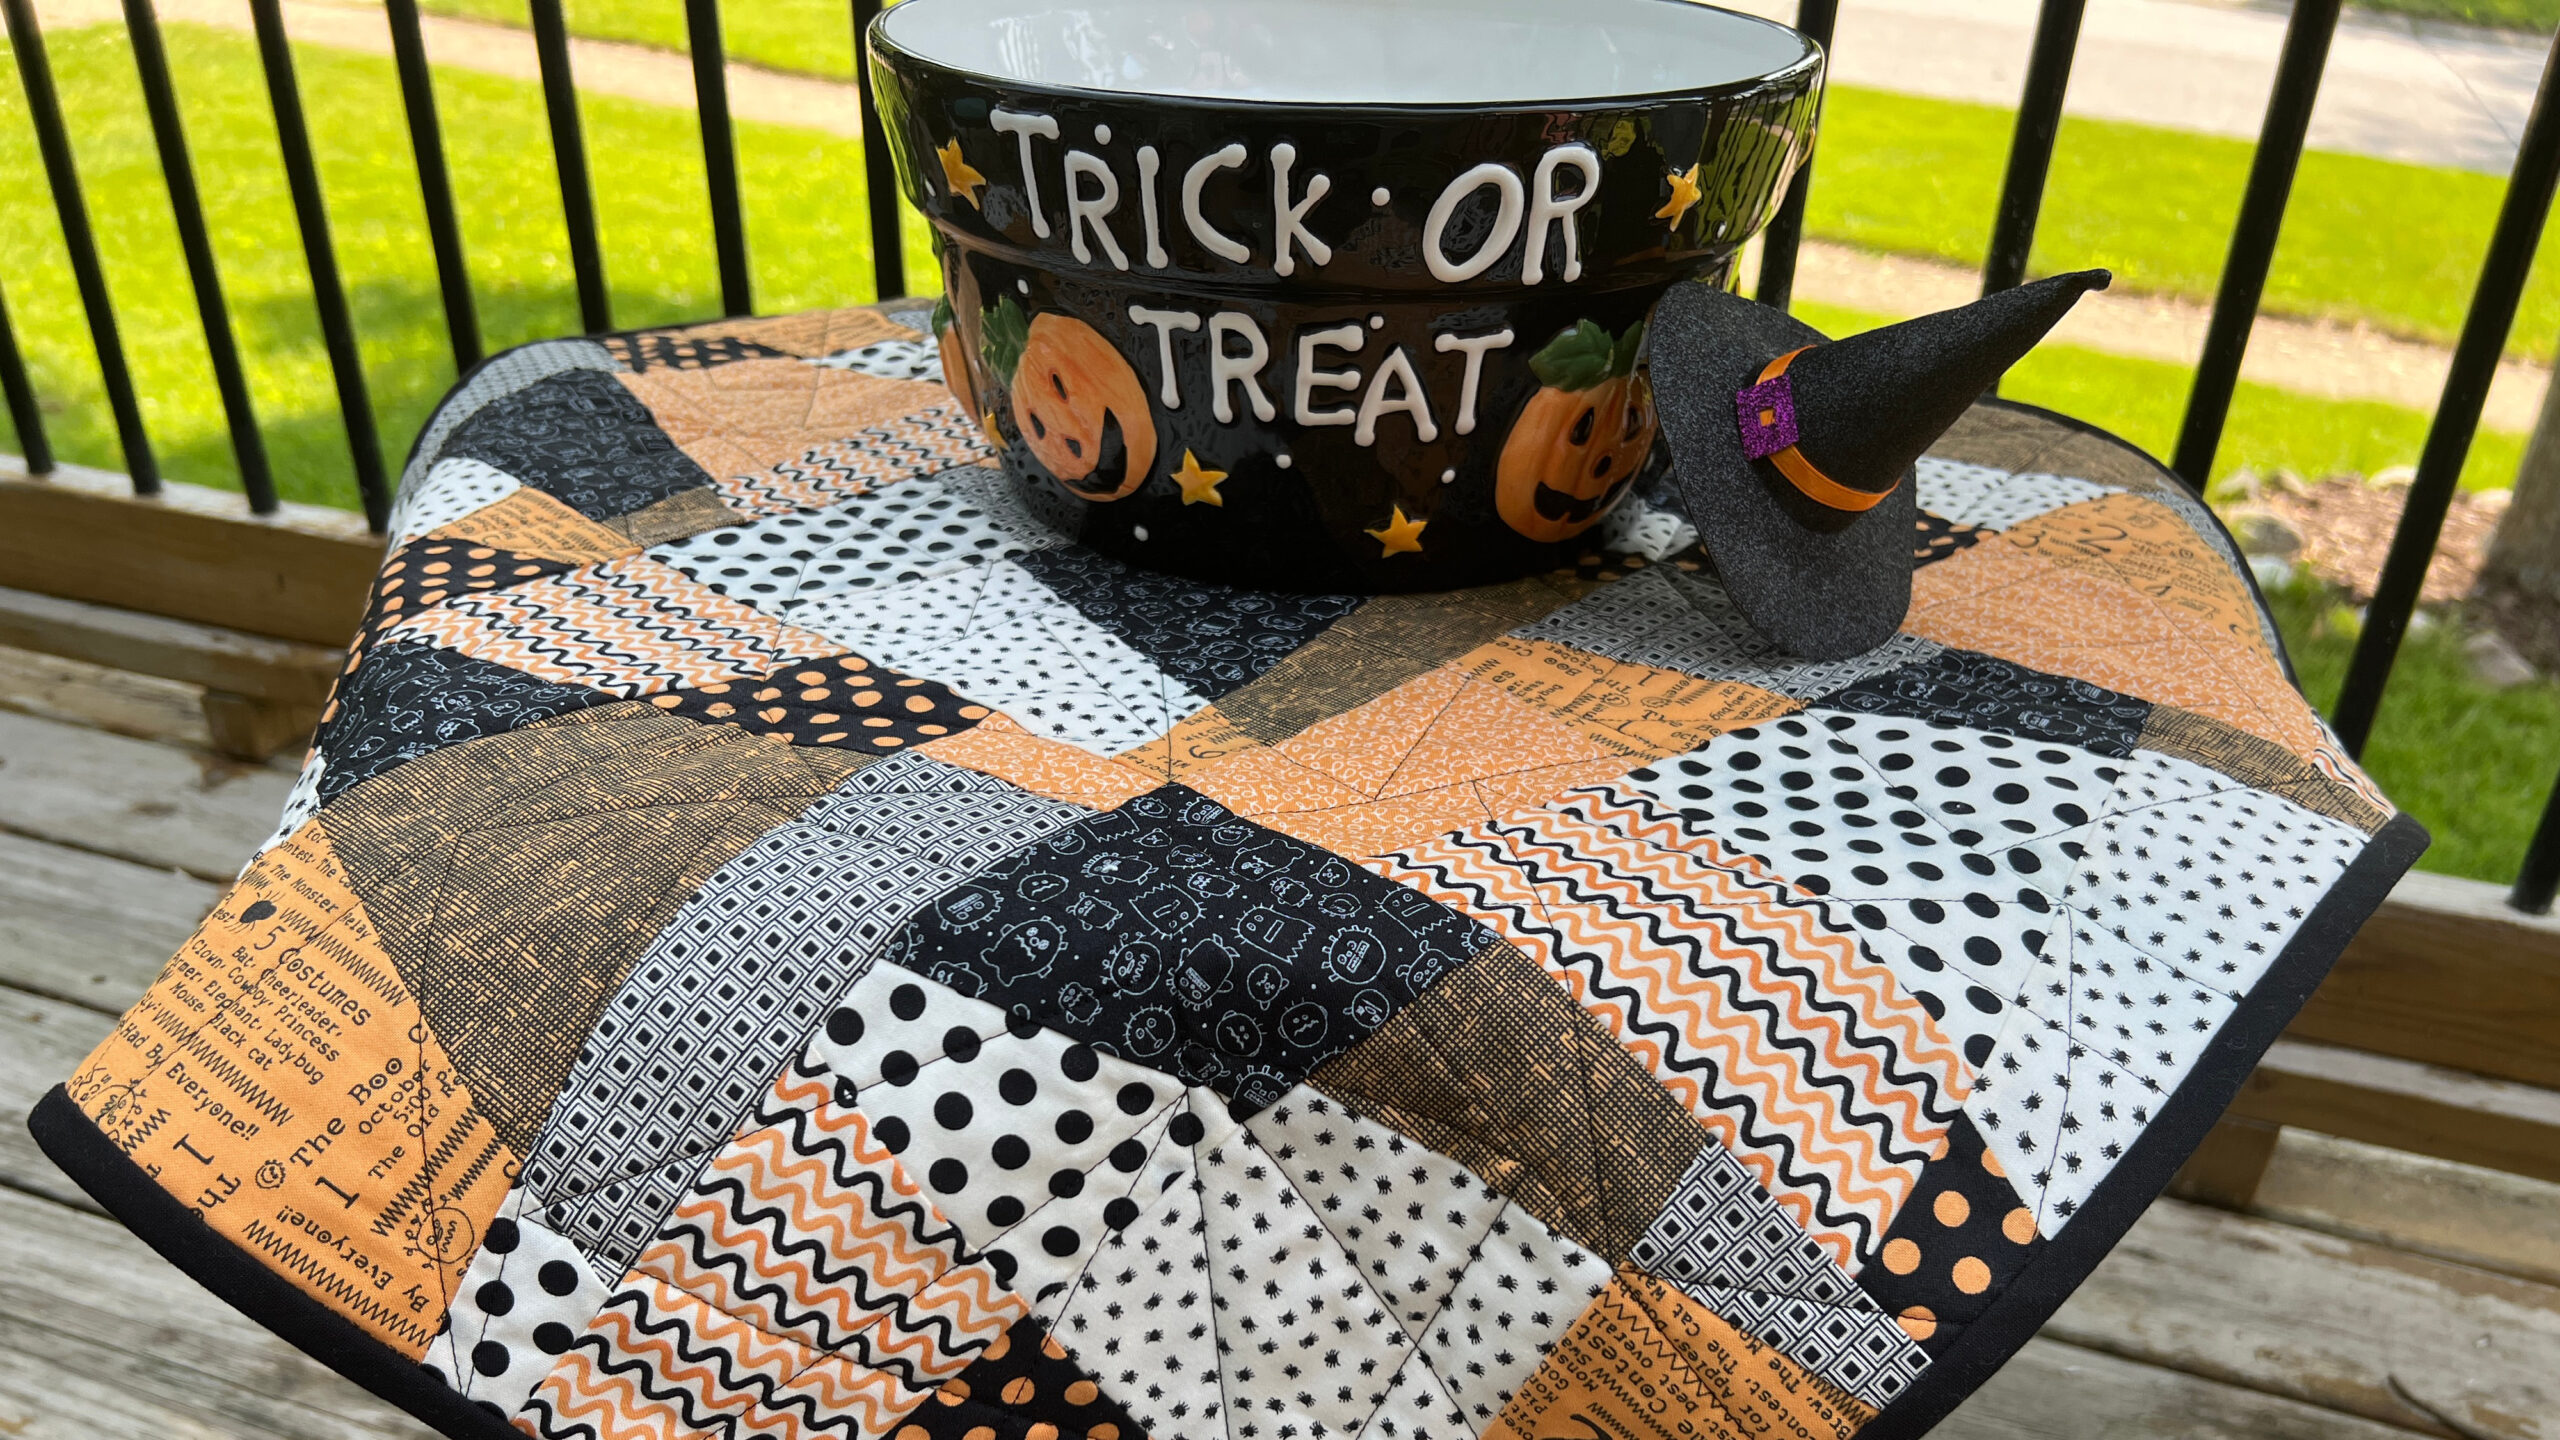
One of my favorite seasonal projects is the Pumpkin Patch Tabletopper.
It’s not just a simple quilting project to me; it’s a celebration of everything I adore about fall.
I remember the first time I dived into this pattern.
I felt a rush of excitement as I picked out my favorite fabrics, not just any fabric, but ones that echoed the colors of autumn—golden yellows, deep oranges, and hints of olive green.
Every cut was like a slice of pumpkin pie waiting to become something special.
As I stitched the pieces together, I couldn’t help but feel a connection to the season.
The Pumpkin Patch Tabletopper transformed not only my table but also the atmosphere in my home.
Guests would gather around it, sipping warm cider and sharing stories as the sun melted into a breathtaking fall sunset outside.
It’s these simple joys that make quilting such a rich and rewarding hobby.
Whether you are just starting or are already a quilting aficionado, making your own Pumpkin Patch Tabletopper can bring that same cozy energy into your life.
Your Maple Leaf Inspiration Awaits!
The beauty of the Pumpkin Patch Tabletopper lies in its versatility.
You can use precut 10” squares or dive into your fabric stash for some creative freedom!
One of the things I love most about this project is the randomness it introduces into my quilting journey.
Unlike traditional patterns that demand precision, this one lets you slice and sew without strict guidelines.
You can let the fabric speak for itself and create a one-of-a-kind masterpiece.
Choosing a Halloween-inspired palette can elevate the spooky vibes in your home, or you can select charming fall prints that match your existing decor.
The design allows you to play with various color schemes; it isn’t just limited to oranges and blacks.
Be daring!
Incorporate purples, burnt siennas, or earthy tones and let the Pumpkin Patch Tabletopper radiate your unique style.
Your creativity is the only limit!
Time to Gather Your Supplies
- (9) 10” squares (lights, mediums, and darks)
- 1/4 yards binding
- 7/8 yards backing
- 45mm rotary cutter with a new blade
- Cutting mat (rotating cutting mat optional)
- 8” x 14” ruler or similar size
- 12 ½” square ruler
- Fabric marking pen/pencil (optional)
- Scissors
- Pins
- Thread for piecing
- Iron
- Pressing mat
Tips Before You Begin
Before you start your Pumpkin Patch Tabletopper, take a moment to plan out your color combinations.
I find that laying out my squares beforehand helps in visualizing how the final product will look.
Don’t rush this part!
Choosing the right feel is crucial for this quilt, so think of the overall aesthetic you want to achieve.
Also, consider cutting your squares with a sharp blade—trust me, it makes a world of difference!
Dull blades can lead to uneven edges, and nobody wants that for their precious Pumpkin Patch Tabletopper.
A sharp blade will help you make clean cuts and save you from unnecessary frustration as you start your quilting adventure.
Now that you’re bursting with excitement, let’s dive into the step-by-step instructions for making your own Pumpkin Patch Tabletopper!
The full pattern will be available via the link below, so keep that in mind while I walk you through the process.
Full Pattern: Click Here
Additional Tips for Success
As you embark on creating your Pumpkin Patch Tabletopper, make sure to work in a well-lit area where you can see your fabrics clearly.
This can significantly improve both your mood and your precision as you stitch each piece.
Keep your cutting tools within reach and go at your own pace.
Remember, this is not a race; enjoy every cut and seam!
Also, take breaks.
Quilting can be quite the marathon if you’re not careful!
Step away for a cup of tea or a quick stretch.
You want each piece to come together beautifully, and a fresh perspective after a brief pause can do wonders.
Always feel free to experiment, too; don’t be afraid of those fabric combinations!
Advanced Techniques to Enhance Your Design
While the Pumpkin Patch Tabletopper is a great beginner project, advanced techniques can also amplify its beauty.
For example, consider adding embellishments like fabric applique or decorative stitching along the seams.
That little extra flair can take your tabletopper from simple to stunning!
Experimentation is key.
If you’re up for a challenge, try echo quilting around each patch.
This can add depth and dimension, enhancing the overall visual of your Pumpkin Patch Tabletopper.
Each technique you learn will only serve to enrich your quilting experience!
Reflect on Your Quilting Journey!
Ultimately, completing your Pumpkin Patch Tabletopper is more than just finishing a project; it’s about celebrating the creative process and the joy of crafting something beautiful with your own hands.
As you finish this project, take a moment to appreciate the time and effort you put into piecing it together.
Celebrate every stitch, and show off your finished masterpiece at fall gatherings!
Who knows?
You might inspire someone else to pick up their own fabric and create something magical.
If you’re curious and want to dive deeper into the quilting world, our blog has a treasure trove of amazing articles waiting for you to explore!
Dive into your next adventure with sewing by discovering an incredible piece you can check out right here!


