There’s something magical about star patterns in quilting.
My first experience with an 8-Point Star Block, also known as the Sawtooth Star, was during a weekend quilting retreat.
I had been working on a simple project, but when I saw a fellow quilter piecing together her vibrant 8-point star, I was hooked.
The way the points came together in perfect harmony was mesmerizing.
I knew immediately that this was a design I had to try.
The 8-Point Star Block is a true staple in the world of quilting. It’s one of those patterns that feels traditional, yet it’s endlessly versatile.
From its sharp points to the various ways you can play with color, this block offers a mix of creativity and precision that appeals to both beginner and experienced quilters alike.
And trust me, once you’ve created one, you’ll want to add it to all your future quilts!
Starry Simplicity: The Timeless Appeal of the 8-Point Star Block
The 8-Point Star Block, while simple in construction, holds a timeless beauty. It’s no wonder it has been a favorite among quilters for generations.
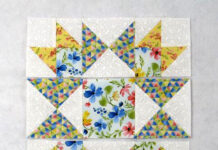
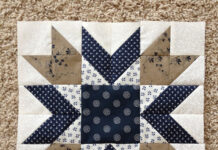
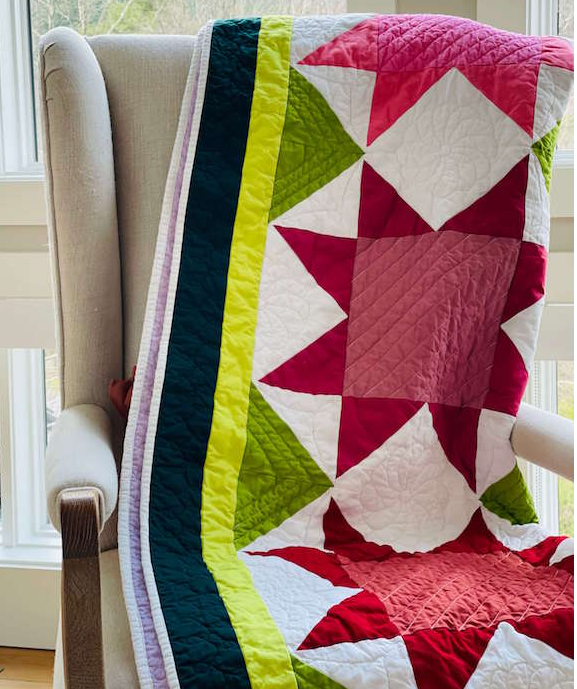
This block centers around a large square, with eight perfectly pointed star tips created using flying geese units.
What makes this design so captivating is the way it can be adapted for any style.
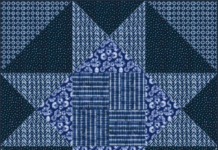
Whether you’re going for modern boldness with solid colors or traditional charm with prints, the 8-Point Star can transform any quilt into a stunning work of art.
Precision and Play: The Essentials of the 8-Point Star Block
Though the 8-Point Star Block is beginner-friendly, it still requires a certain level of accuracy, especially when piecing together the star points.
With a little patience and a few handy tools, you’ll be able to create a block that’s as precise as it is beautiful.
Here’s what you’ll need to get started on your 8-Point Star Block.
Materials:
- Fabric:
- 1 piece (10 ½” square) for the centerpiece
- 8 pieces (5 ⅞” squares) for the star points
- 4 pieces (5 ⅞” squares) for the background
- 4 rectangles (5 ⅞” x 11 ¼”) for the background
- 4 pieces (5 ⅞” squares) for the corner blocks
- Rotary Cutter: For precise fabric cutting.
- Cutting Mat: To protect your surface and ensure accurate cuts.
- Ruler: A must-have for measuring and cutting your fabric pieces.
- Sewing Machine (or hand sewing tools): For piecing the block together.
- Iron: To press seams flat during construction.
- Thread: In colors that match your chosen fabrics.
- Fabric Pen: To mark lines for accurate piecing.
Getting Ready to Sew: Tips for Success
Before you begin, make sure you have all your pieces cut and organized. This will make the sewing process much smoother. If you’re new to working with star blocks, I recommend choosing fabrics that have a clear contrast between the background and the star points—this will help the star design stand out.
Also, keep in mind the direction of any patterned fabrics when drawing your lines for the flying geese blocks. This small step can make a big difference in the final look of your block. Now, let’s dive into the step-by-step process of creating your own 8-Point Star Block!
Full Pattern: Click Here
Step-by-Step Instructions:
Step 1: Cutting the Pieces
- Start by cutting out your fabric pieces as outlined in the materials list:
- 1 centerpiece square (10 ½”)
- 8 star point squares (5 ⅞”)
- 4 background squares (5 ⅞”)
- 4 rectangles for the background (5 ⅞” x 11 ¼”)
- 4 corner squares (5 ⅞”)
Tip: Use a rotary cutter and ruler for accurate cuts, as this will make piecing the block much easier later on.
Step 2: Creating the Star Points with Flying Geese Blocks
- Take one rectangle (5 ⅞” x 11 ¼”) and two star point squares (5 ⅞” each). Using a fabric pen, draw a diagonal line on the wrong side of both squares.
- Place one square onto the rectangle, aligning the edges. Sew along the drawn diagonal line, then trim the excess fabric, leaving a ¼” seam allowance.
- Press the seam towards the star point fabric.
- Repeat on the opposite side of the rectangle with the second star point square, creating a mirrored image. Sew, trim, and press.
- Repeat this process three more times to create four flying geese blocks, each with two star points. Trim the finished flying geese blocks to 5 ⅞” x 10 ½”.
Step 3: Piecing the Corner Blocks (Half Square Triangles – HSTs)
- Take the four corner squares and four background squares, placing them right sides together. Draw a diagonal line on the wrong side of the top square in each pair.
- Sew along this line, then trim off the excess fabric, leaving a ¼” seam allowance.
- Press the seams towards the colored fabric.
Step 4: Assembling the Block
- Begin by attaching the corner HST blocks to the two horizontal flying geese blocks. Press the seams towards the flying geese.
- Next, attach the remaining flying geese units to the centerpiece square. Press the seams toward the geese units to ensure that your seams will nest when you sew the rows together.
- Finally, sew all three rows together, carefully matching the seams for a perfect finish.
- Once assembled, give the entire block one final press. The finished block should measure 21” square.
Additional Tips:
- Accurate Seam Allowances: A consistent ¼” seam allowance is critical to ensure that your block pieces fit together neatly.
- Press, Don’t Iron: Gently press your seams rather than dragging the iron, which can distort your fabric.
- Use Pins: Pinning your pieces in place will help you achieve better alignment, especially when matching star points.
As you complete your 8-Point Star Block, take a step back and admire your work. This block, with its sharp points and striking symmetry, is a testament to the precision and creativity of quilting. Whether you choose to make a single block or an entire quilt using this pattern, the versatility of the 8-Point Star allows you to customize it in endless ways.
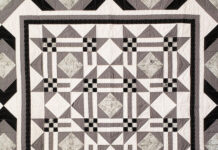
The Garden Stars quilt pattern, which incorporates these blocks into a larger quilt, offers the perfect opportunity to showcase this stunning design. And whether you’re a beginner or an experienced quilter, this block is a fun way to improve your skills and create something truly beautiful.

