Hey everyone—Julie here!
SEE A NEW PATTERN HERE
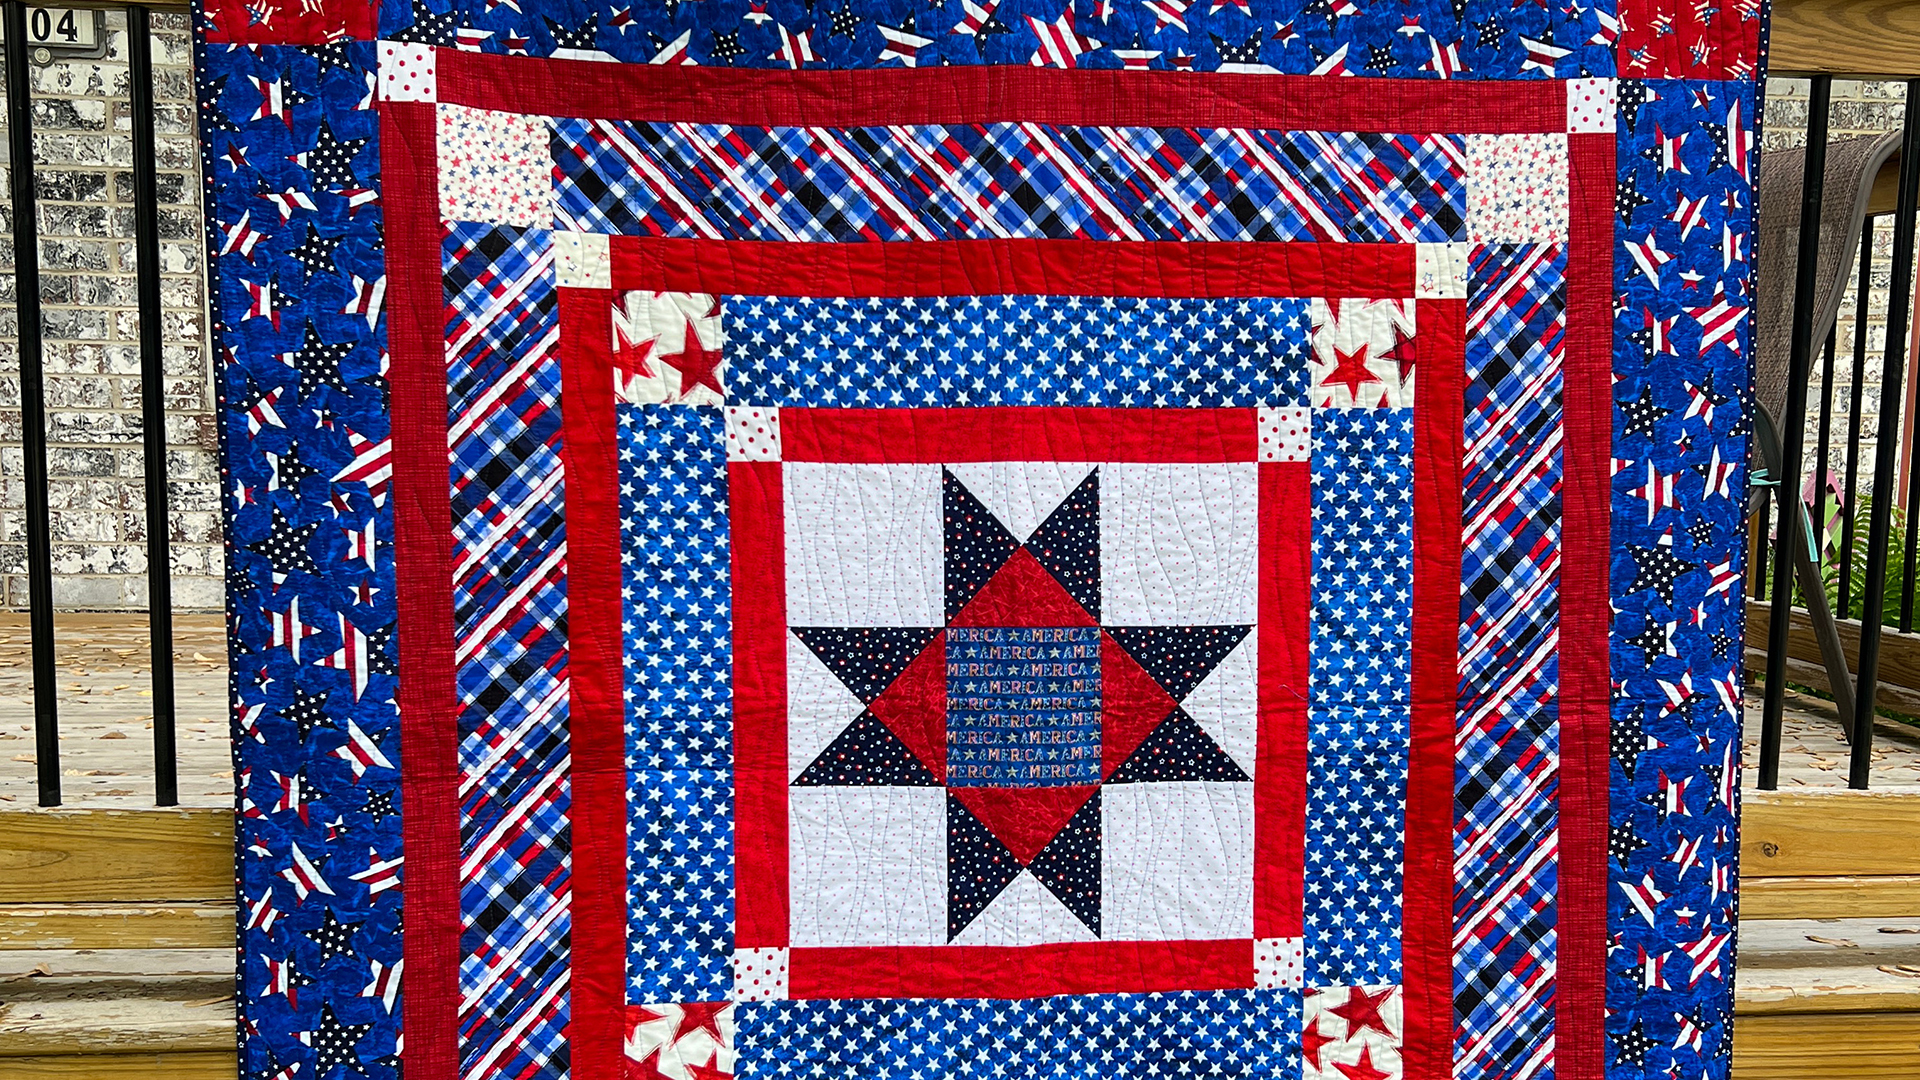
Let me tell you about the first time I decided to tackle the Home Sweet Home Picnic Quilt pattern.
I was holed up in my cozy craft room, much like a hibernating bear, surrounded by an inspiring mess of fabric swatches and half-done projects.
As I flipped through my stack of quilting patterns, I spotted it: the vibrant and cheerful design beckoned to me like a siren call.
“This is going to be the one!” I thought.
Determined and slightly nervous (I mean, it’s not like you can just unpick everything and try again!), I gathered my materials and hit the ground running.
The colors reminded me of summer picnics with friends, laughter, and sweet memories.
And from that moment on, I knew that the Home Sweet Home Picnic Quilt would soon become a treasured piece in my home!
Exploring the Essence of the Home Sweet Home Picnic Quilt
This quilt isn’t just any project; it’s a canvas for storytelling through fabric.
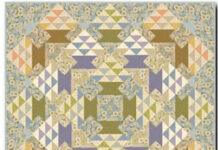
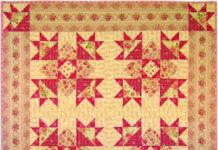
The combination of reds, whites, and blues perfectly captures the essence of warmth and community.
Each triangle and border in the Home Sweet Home Picnic Quilt is like a page in a storybook, representing narratives of summer gatherings and cozy family moments.
As I stitched my quilt, I felt an emotional connection to each piece of fabric.
It gave me an overwhelming sense of joy!
Besides its charming aesthetics, the construction of the Home Sweet Home Picnic Quilt pattern is also an exciting challenge!
The quarter square triangles (QSTs) are a delightful twist that makes the sewing more dynamic.
It’s a chance to refine your skills while producing something that will be cherished for years to come.
Can you imagine proudly displaying a quilt that you made by hand?
Let’s get started!
Materials You’ll Need
- 1-1/8 yards of red fabric (includes Red 1, 2, 3, 4, and 5)
- 5/8 yards of white fabric (includes White 1, 2, 3, 4, and 5)
- 3/4 yards of blue fabric (includes Blue 1, 2, 3, 4, and 5)
- Rotary cutter
- Cutting mat
- 8″ x 24″ ruler & 6-1/2″ square ruler
- Best Press or spray starch (optional)
- Fons & Porter Half and Quarter Ruler
- Scissors
- Pins
- Thread for piecing
- Iron and pressing mat
Get Everything Ready!
Before diving into our quilt, there are a few prep tips that will make this whole process smoother.
First things first, organize your workspace.
Lay out all your materials within reach; trust me, that extra step saves you from playing a frantic round of fabric hide-and-seek!
Next, give those fabrics a good press before cutting them out.
Smooth edges can make all the difference when it comes to accuracy.
And don’t forget to label your cut pieces!
I like to use sticky notes to keep it all organized.
That way, I have everything lined up and ready for the fun of piecing it all together!
Step-by-Step Instructions:
Alright, folks!
Here comes the part you’ve been waiting for—the nitty-gritty step-by-step for the Home Sweet Home Picnic Quilt!
The detailed instructions are below the image, and for the full pattern, make sure to check out the link!
Full Pattern: Click Here
Additional Tips for Quilting Bliss
Throughout your journey with the Home Sweet Home Picnic Quilt, take your time and enjoy the process.
When you’re sewing those QSTs, don’t rush it.
It’s better to take a moment to re-measure or adjust than to find out later that they don’t fit perfectly.
And trust me; even experienced quilters make mistakes every so often!
Have fun experimenting with different fabric combinations as well!
The beauty of the Home Sweet Home Picnic Quilt pattern is that it’s highly adaptable.
Want more blue?
Go for it!
A splash of yellow, maybe?
The quilt can easily become a reflection of you and your creativity.
Delving into Design Considerations
A crucial element in the Home Sweet Home Picnic Quilt pattern is the use of visual balance.
As you add those borders, consider their colors and how they play together.
A well-balanced quilt is more inviting to the eye.
Think of it as a painting—arranging colors until they complement and enhance each other.
Don’t hesitate to mix shades of your chosen palette!
The challenge lies in finding harmony among colors, which can lead to a striking visual effect.
Craft something unique that speaks to who you are, and remember that imperfection can add charm.
Celebrate Your Craft and Explore Further!
What a journey this has been!
The Home Sweet Home Picnic Quilt is not just a beautiful project; it’s a piece of my heart sewn into fabric.
Every stitch brings life to memories and stories that I will cherish for years to come.
I hope you’re feeling inspired and excited to create your own version!
If you loved this piece, be sure to explore more articles filled with heartwarming quilting projects, tips, and much more!
I’ve prepared an incredible piece that’s waiting for you to discover it by clicking right here! Let’s keep this creative energy flowing!
In conclusion, embracing the journey of crafting the Home Sweet Home Picnic Quilt has brought joy into my life, and I can’t wait for you to share that experience too.
Happy quilting, everyone!

