Quilting is a timeless craft, combining creativity, skill, and practicality.
Today, we’re going to explore a delightful project: a simple patchwork baby quilt. This project is perfect for beginners or those looking to complete a quick and satisfying quilt. It’s also an excellent way to introduce a young or new sewer to the joys of quilting. Let’s get started!
The Charm of a Patchwork Baby Quilt
The beauty of a patchwork baby quilt lies in its simplicity and versatility. The patchwork design is a classic, loved for its homely charm and the opportunity it provides to showcase a variety of fabrics.
The baby quilt size is manageable, making it a perfect project for beginners or those looking for a quick finish. Plus, it’s an ideal way to make use of precut fabric squares, making the process even more straightforward.
Materials Needed
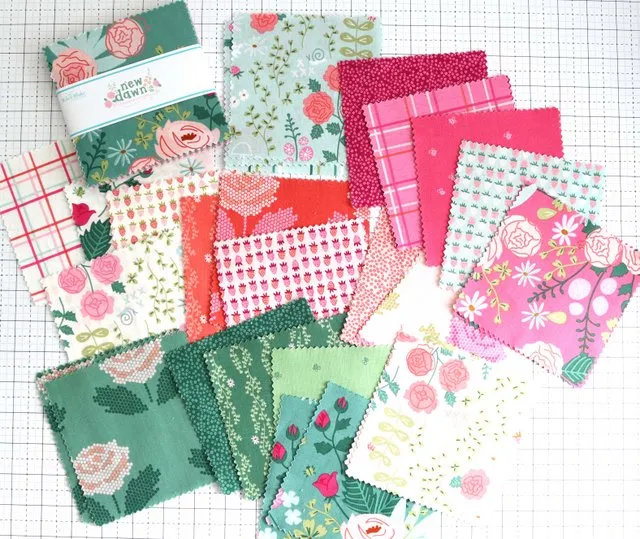
To create your patchwork baby quilt, you’ll need:
- 81 precut 5″ x 5″ squares (typically two sets of precut/packaged 5″ squares)
- 42″ x 42″ piece of batting
- 1 ¼ yard fabric for backing
- ⅓ yard fabric for binding
- Sewing machine
- Cutting tools
- Pins
Step-by-Step Instructions
Step 1: Layout Your Squares
Start by laying out your 81 precut squares in a 9×9 grid, arranging colors and print scale in a pleasing pattern. If you’re unsure about color or fabric placement, divide squares into equal piles by color and lay out the squares in color order diagonally.
Step 2: Sew Your Squares Into Rows
Label each row in order 1 through 9. Starting from the left, carefully stack the 5″ x 5″ squares into rows, keeping the far left square on top and adding squares to the bottom of the pile as you move to the right. Bring your 9 stacks of squares to your sewing machine.
Starting with Row 1, take the top square (Square 1) and place Square 2 face down on top of it. Pin the right side together and sew the pinned edge with a ¼″ seam allowance. Continue to add the next squares to the right side of the row of squares. Repeat the process for the remaining 9 rows.
Step 3: Press Your Seams
Press all of your seams to one side. For odd-numbered rows, press seams to the left. For even-numbered rows, press seams to the right. This will help points match up nicely when sewing the rows to each other.
Step 4: Sew Your Rows Together
Sew the pieced rows together in order. Place the first two rows facing each other, matching up seams. The pressed seams should butt up against each other. Sew together with a ¼″ seam. Repeat the process for the remaining rows.
Step 5: Prepare Your Quilt for Quilting
Now that your quilt top is finished, the next step is to add the batting and backing layers and baste them together. The quilt backing needs to be a few inches bigger on all four sides. Start by giving your backing layer a good press. Then lay it out on your surface face down. Center the batting and then add the quilt top layer face up. Make sure you can see all three layers from the top before you baste them together.
Step 6: Quilt Your Layers Together
Quilting is the process of sewing through all three layers to hold them together. You have lots of options here including tieing a quilt, hand-quilting, machine quilting on your own machine, or sending it out to someone else to quilt the layers together.
Step 7: Bind Your Quilt
The final step to finish your patchwork baby quilt is to put a binding edge on. After the quilting is finished, carefully trim the excess batting and backing fabric with a rotary cutter for a nice, straight edge. Cut your binding fabric into 4 strips 2 ½″ x the width of the fabric. Trim the selvage edges and sew the strips together end to end to create one long strip. Fold in half width-wise and press to create a 1 ¼″ wide strip with a crisp folded edge. Sew it on to the finished quilt.
Full Pattern: Click Here
Congratulations! You’ve just completed a beautiful patchwork baby quilt. This quilt is not just a piece of fabric; it’s a testament to your creativity and skill, a cozy, functional piece of art, and perhaps the start of a lifelong quilting journey. Remember, the beauty of quilting is that each piece is unique and a reflection of the quilter’s creativity. So don’t be afraid to experiment with different fabrics and colors. Happy quilting!


