There’s something about the simplicity of patchwork that never fails to captivate.
It’s like a melody that you’ve heard a thousand times, yet it never loses its charm.
I remember a time when I was a child, my grandmother would sit by the window, her hands deftly moving as she pieced together scraps of fabric.
The result was always a beautiful quilt, a testament to her skill and patience.
It was from her that I learned to appreciate the art of quilting, and it’s a passion that I carry with me to this day.
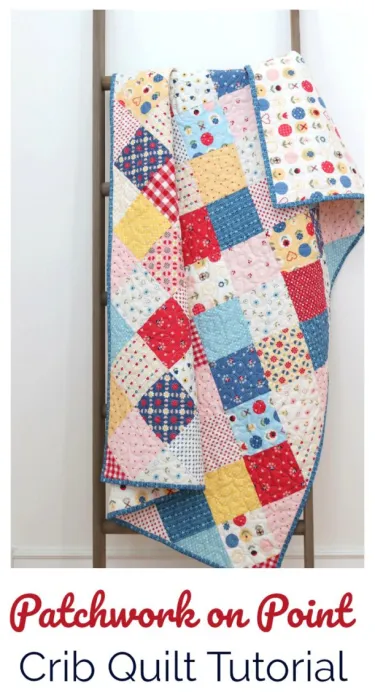
Today, I want to share with you a quilt pattern that reminds me of those days – the Patchwork On Point Quilt.
The Patchwork On Point Quilt
The Patchwork On Point Quilt is a simple yet visually appealing pattern.
The squares are set ‘on point’, creating a dynamic and interesting diagonal line pattern.
If you’ve been intimidated by the idea of making a quilt on point, don’t be.
It’s a great tool to have in your quilting arsenal, and it’s not as tricky as it looks.
Materials Needed
To create a Patchwork On Point crib size quilt (38″ x 50″), you will need:
- 83 squares 5″ x 5″
- 2 squares 4 ¼″ x 4 ¼″ (cut once on the diagonal to get 4 corner-setting triangles)
- 6 squares 7 ¾″ x 7 ¾″ (cut twice on the diagonal to get 4 triangles per square, for a total of 24 side-setting triangles)
- Backing 1 ½ yards
- Binding ½ yard – cut 5 strips 2 ½″ x width of fabric (about 42″)
Step-by-Step Instructions
1. Layout
Start by laying out your 83 5″ x 5″ squares. Begin with 6 squares on point across and 8 squares down. Then use the diagram above to fill in the rest of the squares, Side-setting triangles, and Corner-setting triangles. This will ensure a nice balance of colors and scales, making your patchwork interesting.
2. Assembling Rows
Start assembling rows diagonally with a side-setting triangle at the beginning and end of each row. Row 1 will have only 1 square between the side-setting triangles and a corner-setting triangle at the top. Row 2 will start with a side-setting triangle, followed by 3 squares and end with a side-setting triangle. Row 3 will have 5 squares beginning and ending with side-setting triangles. Continue this pattern as per the diagram.
3. Sewing the Rows
Once all of your rows have been pieced together, press the seams on the odd-numbered rows to the right and the seams on the even-numbered rows to the left. This will help your points match up nicely and keep the quilt from getting ‘misshapen’. Sew the rows together in numerical order and press the diagonal seams in one direction.
4. Binding
Finally, sew 5 binding strips together end to end. Use this binding method for finishing your quilt.
Full Pattern: Click Here
The Patchwork On Point Quilt is a beautiful and simple pattern that’s perfect for showcasing a variety of fabrics. It’s a great project for both beginners and experienced quilters alike. Remember, the key to a great looking patchwork is a big variety of prints. Don’t be afraid to mix and match and make the quilt your own. Happy quilting!


