Quilting is an art form that marries creativity and craftsmanship, resulting in pieces that are as beautiful as they are functional.
Today, we’re going to delve into a project that is as versatile as it is straightforward: the Fast Four Patch Quilt.
This design is a testament to the adage that simplicity is the ultimate sophistication.
Whether you’re a novice quilter embarking on your first project or a seasoned artisan looking for a quick and satisfying endeavor, this pattern offers a delightful quilting experience.
Let’s embark on this quilting journey!
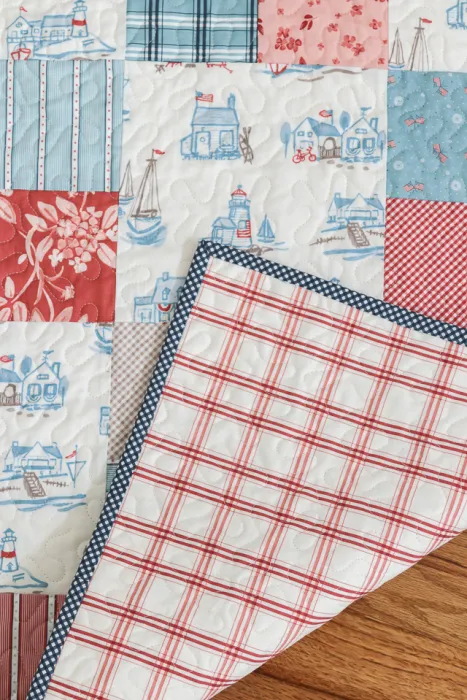
The Appeal of the Fast Four Patch Quilt
The Fast Four Patch Quilt is a classic design that never goes out of style.
Its simplicity makes it a perfect project for beginners, while its versatility allows for endless creativity in fabric choice and arrangement.
Whether you’re looking to make a cozy baby quilt or a decorative throw for your living room, this pattern is a fantastic choice.
Materials Needed
To create your Fast Four Patch Quilt, you’ll need:
- 1 ¼ yard background print
- At least 8 different ⅛ yards for contrasting four-patch blocks OR a couple of packages of 5″ precut squares
- 2½ yards backing fabric
- ½ yard binding
- Sewing machine
- Cutting tools
- Pins
Step-by-Step Instructions
Step 1: Cutting the Fabric
Start by cutting your fabric. From the background print, cut 5 strips 8½” x width of fabric. Sub cut into 17 squares 8½” x 8½”. From the ⅛ yard prints, cut 72 squares, 4½” x 4½”. From the binding fabric, cut 5 strips 2½” x width of fabric.
Step 2: Piecing the Quilt
Match 72 squares up into contrasting pairs. Sew squares together using a ¼” seam allowance. You can ‘chain’ them through quickly without even cutting the thread.
Press seam to one side. Match each pair of 2 squares with a contrasting pair of 2 squares with seam pressed in the opposite direction. Place right sides together and sew to a four-patch blocks.
Press long seam to one side. Make 18 four-patch blocks.
Step 3: Layout Quilt Blocks
Layout quilt blocks into seven rows of five blocks each. Start with a four-patch block in the first row and alternate with feature print squares. In the second row, start with an 8½” x 8½” feature print square. Continue this pattern for the remaining rows.
Step 4: Sewing the Blocks and Rows
Sew squares into rows, pressing seams toward the 8½” square blocks. This will create nesting seams when you go to sew the rows together and make the assembly much easier as well as matching up points. Sew rows together and press seams all the same direction.
Step 5: Preparing for Quilting
Layer quilt top with quilt batting and backing and baste together into a “quilt sandwich”. If you’re new to quilting, you can find details to walk you through the basting and quilting process online.
Step 6: Quilting and Binding
Quilt your layers together using your preferred method. After the quilting is finished, carefully trim the excess batting and backing fabric with a rotary cutter for a nice, straight edge. Sew the 2½” x wof strips end to end for your binding. Apply the binding to your finished quilt.
Full Pattern: Click Here
Congratulations! You’ve successfully created a Fast Four Patch Quilt, a piece that is as charming as it is practical.
This quilt is more than just a cozy cover; it’s a canvas where you’ve painted with fabrics, a tangible manifestation of your creativity and dedication.
As you continue your quilting journey, remember that each quilt you create is a unique masterpiece, a reflection of your personal style and creativity.
So, don’t hesitate to play with different fabrics, colors, and patterns. Keep creating, keep quilting, and most importantly, keep enjoying the process!


