Welcome to our quilt tutorial blog!
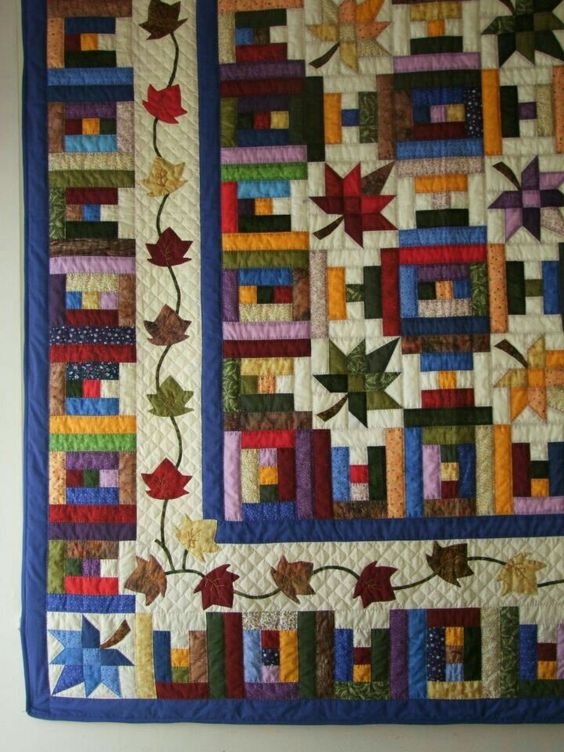
Today, we will explore a quilting project that is perfect for confident beginners and beyond – the Autumn Leaf Quilt Block.
This intricate block may look complex with its multiple angles and mirror-imaged units, but don’t worry, it’s surprisingly simple with the use of basic quilting techniques.
Connector corners, a hint of paper piecing, and a reliable quarter inch seam are all you need to bring this beautiful piece of foliage to life.
About the Autumn Leaf Quilt Block’
The Autumn Leaf Quilt Block is a Maple Leaf variation that comes in three sizes.
This block will not only help you improve your quilting skills but also provides an ideal way to welcome the Autumn season with open arms, no matter what time of year it is!
Materials Needed
For this tutorial, the following items will be required:
- Fabric in contrasting colors for the leaf and background
- Sewing machine
- Thread
- Paper patterns and templates (which will be provided)
- Rotary cutter or scissors
- Ruler
- Cutting mat
- Iron
Instructions to Create the Autumn Leaf Quilt Block
Step 1: Download and Print Patterns/Templates
The corner unit of the Autumn Leaf quilt block, known as the Tippecanoe block, is paper pieced. First, you’ll need to choose your Finished Block Size from the table provided and print one each of the corresponding pattern and template page. This process helps eliminate the need to purchase a special quilting ruler.
For a 10″ finished block, for instance, you would print one 4″ Tippecanoe pattern and one set of templates.
Step 2: Cutting Patches for the Autumn Leaf Block
Once your patterns and templates are ready, it’s time to cut your fabric. All the measurements you need are provided in the cutting chart included in the tutorial. Make sure you follow the correct column according to the finished block size you’ve chosen.
Remember, our Autumn Leaf block aims to highlight those pointy ends. So, choose fabrics with good contrast to make them stand out.
Step 3: Assemble the Units for the Autumn Leaf Quilt Block
On the back of all your squares, draw a diagonal line from one corner to the other. Align the edges of a square and a rectangular piece, right sides together, and stitch on the line. You’ll need to do this for a certain number of pieces, according to the tutorial instructions.
After stitching, trim away the excess fabric a quarter inch away from the seam on the side closest to the corner. Press the remaining fabric towards the outside corner.
From there, it’s a matter of stitching the various pieces together, following the given pressing instructions and using the images in the tutorial for guidance.
Full Pattern: Click Here
Congratulations on finishing this tutorial on creating an Autumn Leaf Quilt Block. Quilting is a rewarding hobby that challenges and enhances your sewing skills, and you’ve just taken another step towards perfecting them.
Don’t worry if your first block didn’t turn out perfect. Remember, in quilting, as in life, practice makes perfect. So, keep creating, keep learning, and most importantly, keep enjoying the beautiful art of quilting.
Embrace the vibrant colors of the autumn leaf quilt block and let it inspire you to create stunning quilts that will warm both body and soul. Happy quilting!


