As a quilting enthusiast, I relish the joy that comes with transforming simple fabric pieces into stylish accessories.
One of my all-time favorite projects is the Strip Pieced Mini Shoulder Bag.
This delightful little bag doesn’t just carry my essentials; it carries memories of every vibrant fabric I choose and every cheerful stitch I make.
It’s amazing how something as simple as sewing strips together can create something so fun!
Embarking on creating a Strip Pieced Mini Shoulder Bag feels like a playful adventure, where I can express my unique style.
This project is perfect for beginners, and it’s a great way to explore color combinations and fabric patterns.
On evenings when I need a little boost of creativity, I find myself gravitating towards this pattern — it never fails to ignite my passion for quilting!
Exploring the Joy of Fabric Choices
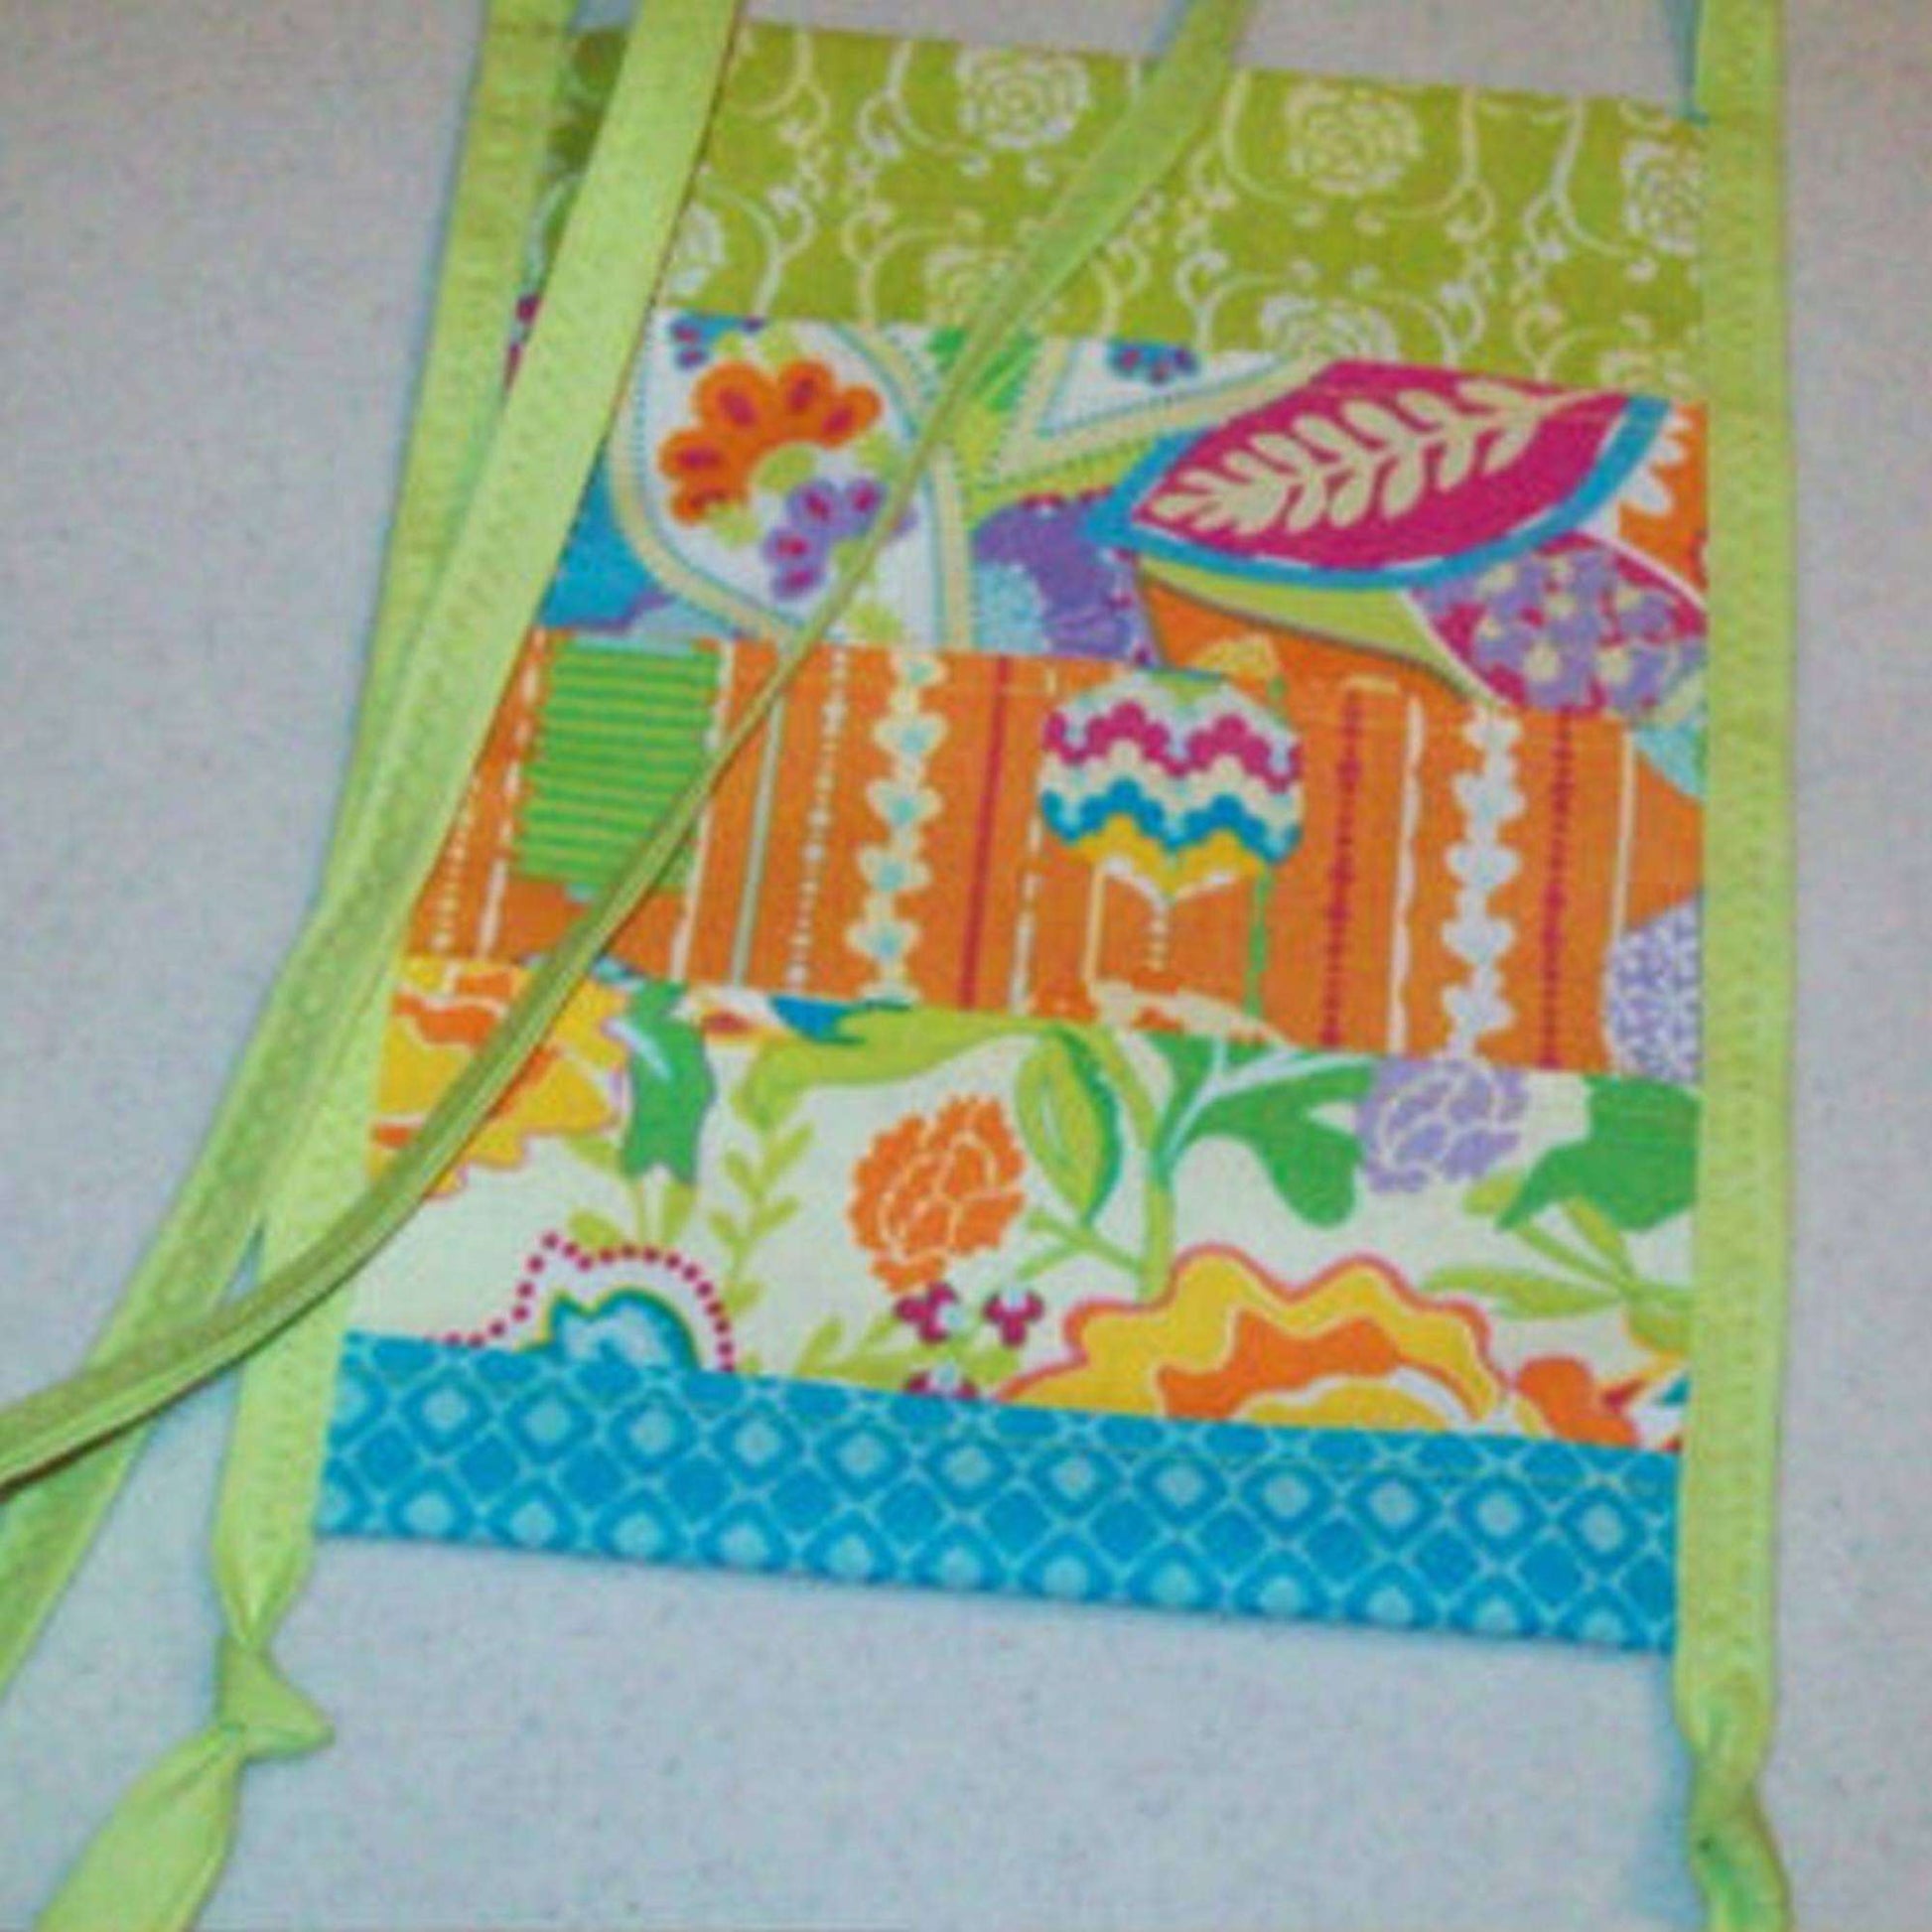
The beauty of the Strip Pieced Mini Shoulder Bag lies in the fabric choices we get to make!
It’s not just a bag; it’s a canvas for our imagination.
Using 2 ½” wide strips of brightly printed fabrics, I love mixing different patterns and colors to create something playful yet functional.
Each bag I make feels like a reflection of my mood and style at that moment.
When selecting fabrics, I recommend looking for five fabrics that bring you joy.
Imagine all the possibilities!
I often lay them all out and let inspiration take me on a journey before deciding on which colors will make it into my Strip Pieced Mini Shoulder Bag.
It’s a delightful process, where each fabric speaks to me in its own unique way!
Seam Allowance: A Key to Success
The foundation of our Strip Pieced Mini Shoulder Bag is the ¼” seam allowance, which is crucial for achieving crisp and neatly lined patterns.
This technique might seem basic, but trust me, getting those seams just right makes a world of difference in the final look of the bag.
I swear by using a mechanical sewing machine with a seam guide since it helps me maintain accuracy while stitching the fabric strips together.
One of my favorite tips is to use a small piece of sturdy cardboard or even a magnet (if you have a mechanical machine) as a seam guide.
It’s all about finding those little hacks that turn sewing into a breeze!
Making sure the seams are straight and neat will enhance the quality of your Strip Pieced Mini Shoulder Bag, making it all the more special.
Materials:
- Dual Duty XP general purpose thread
- 1 ½ yards extra wide double fold bias tape
- Variety of 2 ½” wide strips of brightly printed fabrics (at least 5)
- 1/8 yard of solid fabric for lining
Prepare to Start Your Quilt Adventure!
Before diving into the creation of the Strip Pieced Mini Shoulder Bag, I take a moment to organize my workspace.
Clearing the table and gathering all my materials gives me focus and creates an inviting sewing environment.
Trust me, starting with everything in place really uplifts my mood!
Additionally, I suggest cutting your fabric strips to a uniform 7” long before arranging them on the table.
Playing around with colors can turn an ordinary evening into a crafty exploration of what combinations work best together.
You’ll feel that rush of excitement when everything starts to come together!
Let the Sewing Begin!
Now that we’re all set with materials and preparations, it’s time for the fun part: the step-by-step instructions on crafting the Strip Pieced Mini Shoulder Bag!
I love this part because it transforms mere fabric into something fabulous.
Follow my lead to see how easy it is to create your personalized bag!
Full Pattern: Click Here
Mastering Your Craft: Final Touches
After sewing and assembling your Strip Pieced Mini Shoulder Bag, it’s essential to take the time for final touches.
Top stitching along edges gives a polished finish, making your bag look professionally crafted!
Pressing is also vital here — those crisp edges make all the difference in the world.
Don’t hesitate to play with your sewing machine settings to find the perfect stitch for your bias tape.
A medium width zigzag stitch works wonderfully to secure everything in place and gives a lovely finish.
Remember to take your time; there’s no need to rush — enjoy the process!
Further Enhancements
Adding personal touches, like colorful pony beads tied to the bias tape, can elevate the Strip Pieced Mini Shoulder Bag into a fantastic accessory!
Beads not only enhance the look, but they also add charming detail that showcases your personality.
The moment I started incorporating these little details, my bags started to feel so much more like *me*!
Lastly, think beyond just colors and patterns — be creative with how you wear and use your bag!
It’s a versatile accessory, and it’s amazing how this bag can be styled in so many different ways.
Enjoy experimenting!
Celebrate Your Handmade Creation!
Reflecting on this delightful journey, creating my Strip Pieced Mini Shoulder Bag has been such a rewarding experience.
It reminds me that each piece tells a story, every stitch is a celebration of creativity, and producing it brings immense satisfaction.
Whether you end up gifting it or keeping it for yourself, wear your creation with pride!
Now that you’re equipped with the skills to embark on this crafting journey, I invite you to explore the treasure troves of creativity in other articles.
Our blog is brimming with delightful content that will inspire and empower you to make all kinds of amazing things.
Get inspired and unveil your next project right here — there’s a world waiting for you!
In summary, the Strip Pieced Mini Shoulder Bag is not only a fun craft to dive into but also a charming addition to any wardrobe.
With the right materials, techniques, and a sprinkle of creativity, you’ll be amazed at the fantastic bags you can create!


