Imagine embarking on a journey across the globe, marveling at the diverse colors, patterns, and textures in various cultures.
Now, imagine encapsulating that feeling of global exploration in a quilt.
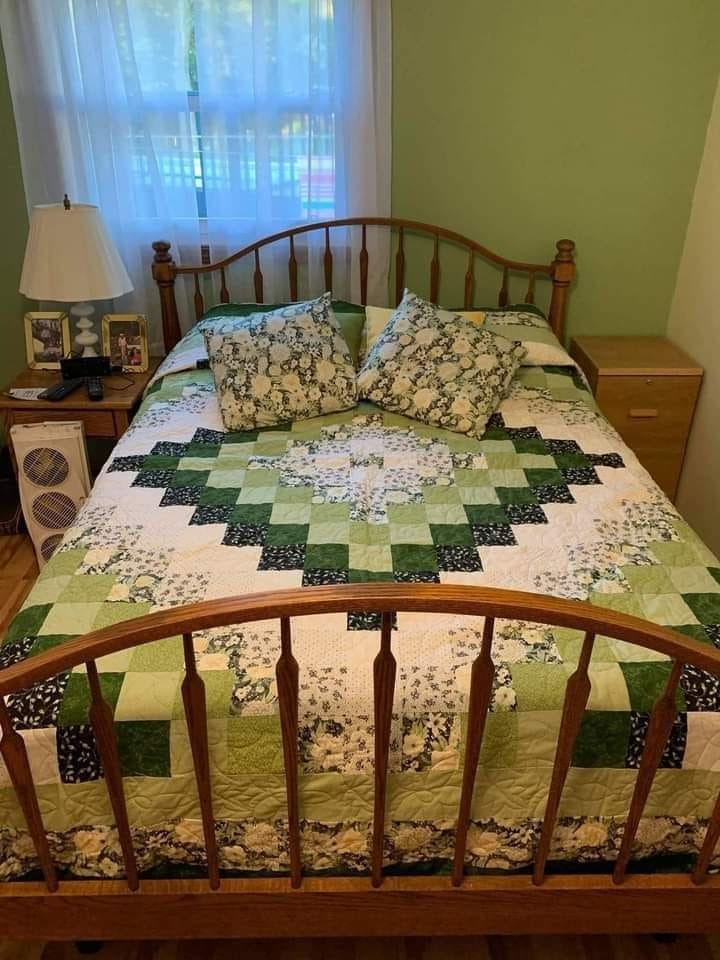
Welcome to our “Trip Around the World” free quilt pattern tutorial, an exciting project perfect for both beginner and expert quilters. This project is designed to bring out the inner artist in you, inspiring creativity and precision in equal measure.
Background
The “Trip Around the World” pattern is a variation of the traditional bargello pattern, also known as Sunshine & Shadows.
This quilt design features an enchanting array of squares, which differs from the rectangles usually found in most bargello quilts. It’s a simple and unique twist that makes the quilt incredibly vibrant and visually striking.
Materials Needed
To get started on your journey, gather these essential quilting supplies:
- Five fat quarters in light, medium, and dark shades of your chosen colors.
- A seam ripper.
- A graph paper for planning your quilt design.
- Fabric scissors or a rotary cutter.
- A quilting ruler.
- Iron and ironing board.
- A sewing machine.
- Quilting thread in a color that complements your fabric.
- Pins.
Steps to Create Your “Trip Around The World” Quilt
The process of making this quilt involves a number of stages, all of which we’ll delve into below.
Fabric Selection & Preparation
Choose five fat quarters in a color gradient of your liking. In this example, we used a mix of light, medium, and dark greens and reds. Wash your fat quarters, iron them to remove wrinkles, and cut them into 2-inch strips.
Making the Strip Set and Tube
After preparing your fabric, arrange the strips from lightest to darkest. Sew them together side by side to form a strip set. Cut off any raggedy ends. To make your quilting project manageable, divide your strip set into two-inch segments.
Assembling Top Half of the Quilt
Take a look at your graph paper mock-up and locate the ‘X’ marks dividing the quilt into four segments. Identify the top half of your quilt and begin to assemble it by using your seam ripper to disassemble your two-inch segments. Arrange these fabric strips according to your graph paper plan, keeping the sequence and orientation of the fabrics consistent with your design. After arranging, sew your strips together.
Assembling Bottom Half of the Quilt
Follow the same steps as with the top half, but turn the assembled piece 360 degrees and place it below the top half on your work surface.
Finishing the Quilt Top
With both halves assembled, the next step involves joining these two sections with a central strip composed of your remaining two-inch segments and an extra two-inch square for the very center of your quilt. Sew these pieces together to form one long strip composed of 11 squares.
Making the Quilt Sandwich
With the quilt top assembled, it’s time to prepare the quilt sandwich. Cut the batting and backing fabric to the same size as your quilt top. Layer these components together, pin them, and sew around, leaving a small opening to turn the quilt right side out.
Quilting the Quilt
Finally, it’s time to quilt your masterpiece. To maintain the pattern, quilt along each diagonal line of squares. This can be done free-hand, without marking the quilt top or using masking tape. Once finished, close the opening you left when making the quilt sandwich.
Full Pattern: Click Here
Et voilà! Your “Trip Around The World” quilt is complete. This gorgeous quilt, bursting with an array of colors, is a testament to your dedication and hard work. Remember, each stitch is a step on your quilting journey, and every quilt is a milestone on that journey.
Practice truly does pave the path to perfection, so don’t stop here. Try other patterns, experiment with different colors, and continue to refine your skills. The world of quilting is full of possibilities for those with the courage to explore. Keep sewing, keep exploring, and above all, keep creating. Cheers!


