Good afternoon, dear friends and fellow quilting enthusiasts! I’m Julie, and today I’m thrilled to share the wonders of the Flying Geese quilt pattern with you.
This pattern is a cherished staple in our quilting world, a beacon of creativity for both novices and experienced crafters.
Its charm lies in the simplicity of construction juxtaposed with the potential for intricate designs, embodying a craft that celebrates uniformity and personal expression through the sewing machine’s hum or the meditative pace of hand stitching.
The Flying Geese Quilt: A Patchwork Journey
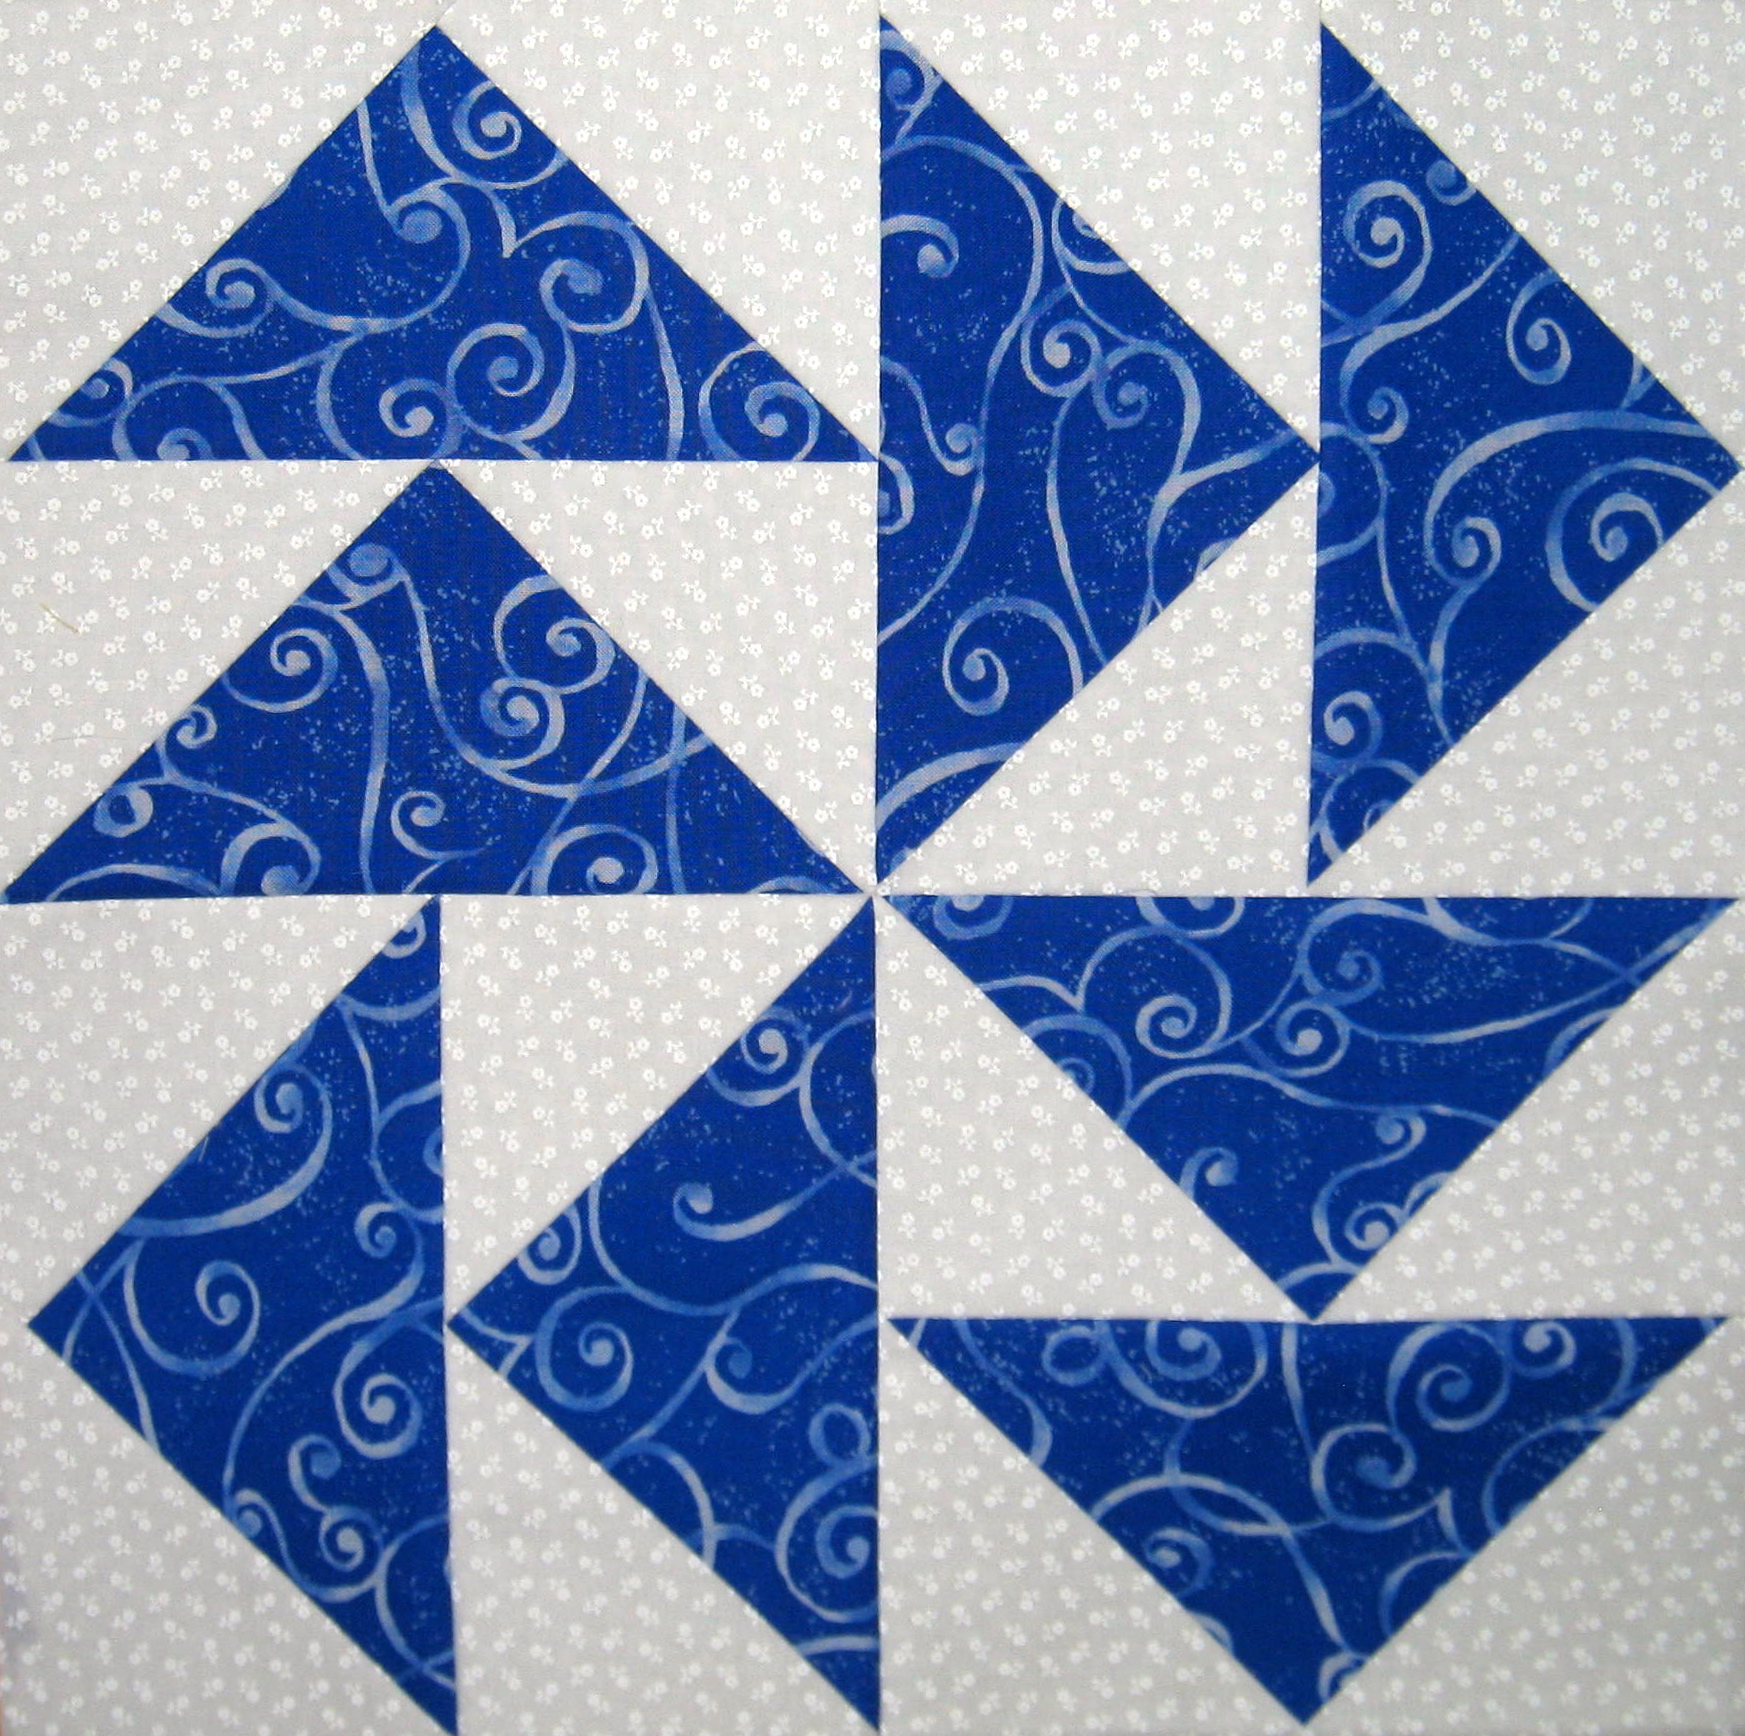
The Flying Geese quilt pattern is a delightful exploration of geometric precision and artistic flair.
With its origins deeply rooted in the utilitarian need to stay warm, the patchwork design has evolved from sewing fabric scraps into a sophisticated art form.
Today, this pattern stands as a testament to the quilting craft’s evolution, showcasing an array of triangles that dance across the fabric, simulating the graceful flight of geese across the sky.
Preparing Your Palette: Materials and Mindset
Embarking on the Flying Geese quilt journey begins with selecting your fabrics. This pattern offers the joy of customization through your color choices, whether you opt for a bold, striking palette or a more subdued, flowing array. Here’s what you’ll need to get started:
- A selection of fabric in colors or prints that inspire you
- A sewing machine for precise, uniform stitches
- Basic sewing supplies such as thread, needles, and scissors
- A sense of adventure and the willingness to see where the creative process takes you
Step-by-Step
- Fabric Selection: Begin by choosing a complementary color palette for your Flying Geese quilt. Opt for a mix of solid colors and prints to add depth and interest to your quilt. Wash and iron all fabrics before cutting to prevent any shrinkage or distortion after your quilt is finished.
- Cutting the Pieces: For a standard 6-inch block, cut the following pieces:
- From the main fabric (the ‘geese’ fabric), cut 2 rectangles measuring 3 ½″ x 6 ½″.
- From the background fabric, cut 4 squares measuring 3 ½″ each. Ensure all measurements include a ¼″ seam allowance.
- Marking and Positioning: On the wrong side of each of the background fabric squares, draw a diagonal line from one corner to the opposite corner. This will be your sewing guide.
- Sewing the First Triangle: Place one background square on the right end of a main fabric rectangle, right sides together, with the drawn line from the top center to the bottom right corner. Sew just to the right of the drawn line. Cut off the excess fabric, leaving a ¼″ seam allowance. Press the triangle open.
- Adding the Second Triangle: Place another background square on the opposite end of the rectangle, with the drawn line from the top center to the bottom left corner. The squares will overlap slightly. Sew and press as before.
- Creating the Geese Units: Repeat steps 4 and 5 to create a second geese unit. You should have two identical units that form the ‘wings’ of the geese.
- Assembling the Block: Place the two geese units right sides together, aligning the seams. Sew along the long side to join them. It’s crucial to sew through the points where the stitching lines intersect to maintain sharp points on your geese.
- Pressing for Perfection: Press the seam open between the two geese units to reduce bulk. This will help ensure your quilt block lays flat and looks professional.
- Final Touches: Admire your completed Flying Geese block. You can now repeat these steps to create as many blocks as you need for your quilt pattern. Remember to play with the direction of the geese to create dynamic patterns in your quilt design.
Stitching Skyward: The Flying Geese Technique
Creating the Flying Geese quilt is like painting with fabric. You are the artist, and your medium is the colorful textiles at your fingertips. Begin by cutting your chosen fabrics into rectangles and squares, then stitch them together, playing with angles and directions to form the iconic triangle shapes. The beauty of this pattern is its adaptability; rotate the triangles, experiment with layout, and watch as your quilt transforms into a dynamic tapestry of color and form.
The Craft That Keeps on Giving
Quilting is more than a pastime; it’s a form of self-expression and a way to unwind. As you sew each piece, you’re not just creating a quilt; you’re crafting a narrative, a cozy sanctuary of fabric and thread. And when you wash and iron your materials before beginning, you’re ensuring that your artwork will stand the test of time, just like the age-old tradition of quilting itself.

Full Pattern: Click Here
The Quilt That Flies With You
As we wrap up today’s journey with the Flying Geese pattern, I hope you feel inspired to try this therapeutic and rewarding craft. Whether you’re looking to adorn your living space or gift a handmade treasure, the Flying Geese quilt is a perfect choice. Remember, in the world of crafts, your imagination and creativity are your most valuable tools. So take flight with the Flying Geese quilt pattern and let your quilting spirit soar!
Happy Quilting!


