I remember the first time I saw a Broken Dishes quilt. It was at a local craft fair, and I was immediately drawn to its simple yet striking design. The quilt was made up of blocks of fabric strips arranged in a zigzag pattern, creating a beautiful visual effect. I was so inspired by that quilt that I decided to learn how to make one myself.
SEE A NEW PATTERN HEREToday, I want to share with you a detailed tutorial for a Broken Dishes baby quilt. This is a beginner-friendly project that uses half-square triangle blocks to create a stunning pattern. Whether you’re a seasoned quilter or a beginner, this tutorial will be a valuable guide.
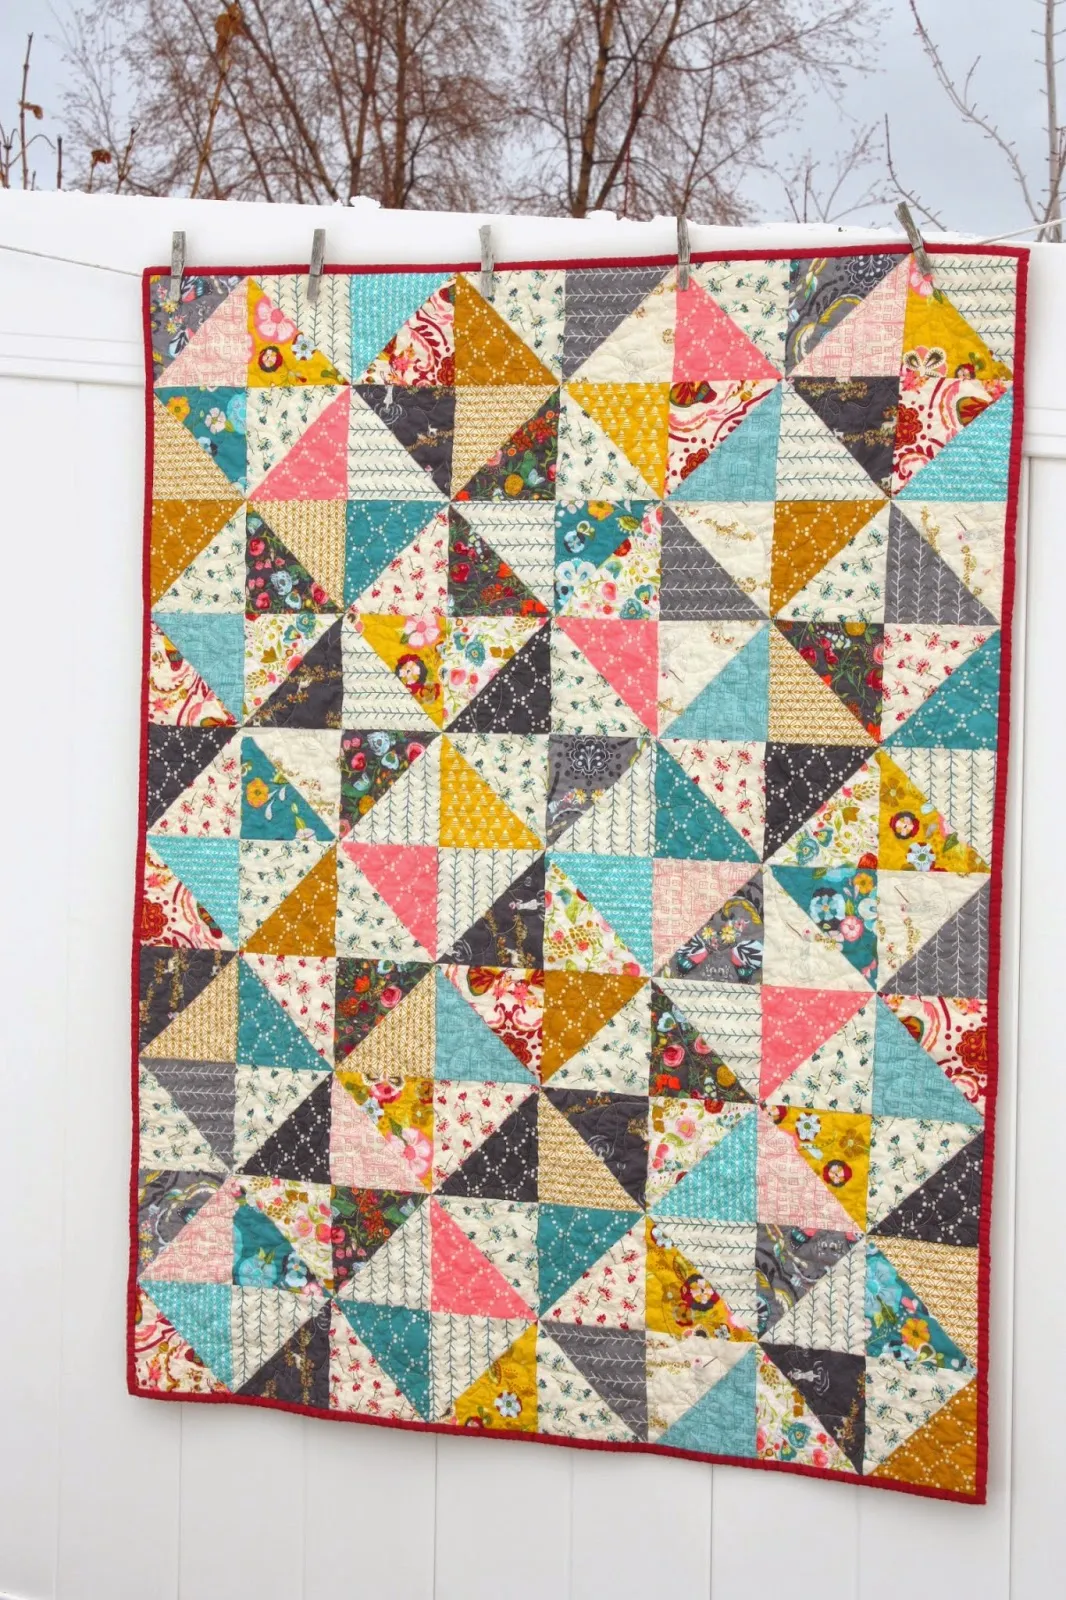
Broken Dishes Baby Quilt
This quilt is a fast and beginner-friendly project that uses half-square triangle blocks for quick assembly. The finished quilt measures 40″ x 50″, making it perfect for a baby quilt.
Fabric Requirements
- 40 ‘light’ 6″ x 6″ squares
- 40 ‘dark’ 6″ x 6″ squares
- ⅜ yard fabric for binding
- 1 ⅝ yards for backing
- 42″ x 54″ batting
Half-Square Triangle Blocks
Half-square triangle blocks are one of the basic elements of quilting. The design options are endless. For this tutorial, we’ll be using the traditional “Broken Dishes” layout of half-square triangle blocks. It’s such a simple pattern – perfect for showing off pretty fabric.
Here are some tips to help you get started:
SEE A NEW PATTERN HERE- Cutting and Sewing: Start by cutting 40 light squares and 40 dark squares, each 6″ x 6″. Match each light square right sides together with a dark square. Draw a diagonal line on the back of every light square. Sew a seam ¼” away down both sides of the line.
- Cutting Blocks: Rotary cut directly on the drawn line to create two separate blocks. Square up each block to 5 ½” x 5 ½”. This step can seem a little tedious, but it makes a big difference when it’s time to assemble the blocks.
- Pressing Seams: Press blocks flat with seam allowance toward the dark fabric on all blocks. This will come in handy when you assemble your rows. You will have 80 total HST blocks.
Assembling the Quilt
- Creating the Rows: Starting with the first row, layout 8 HST blocks with dark triangles rotating like this. Repeat this layout direction for all odd rows (rows 1, 3, 5, 7, and 9). Press seams to the right on all odd rows. Starting with the second row, layout 8 HST blocks with dark triangles rotating in this pattern. Repeat this layout direction for all even rows (rows 2, 4, 6, 8, and 10). Press seams to the left on all even rows.
- Sewing the Rows Together: Pin and sew rows together in order. By pressing the seam allowances in opposite directions on odd and even rows, your seams should butt up against each other, helping your triangle points to match up. Press row seams in one direction.
- Finishing the Quilt: To finish the quilt, layer the top, batting, and backing together. Cut the binding fabric into 4 strips 2 ½” x WOF and sew them end to end. Attach the binding to the quilt, and you’re done!
Full Pattern: Click Here
The Broken Dishes baby quilt is a classic design that’s perfect for beginners. Its simplicity and the speed at which it can be assembled make it an ideal project for all. Whether you’re making it for a loved one or for yourself, this quilt is sure to be a treasured keepsake. So why wait? Grab your fabric and start quilting today!


