Hello, my name is Julie, and I am thrilled to share a special story and a tutorial with you today. A few years ago, I was going through a particularly challenging time in my life.
I had just moved to a new city, and everything felt unfamiliar and overwhelming. One day, while exploring my new neighborhood, I stumbled upon a quaint little quilt shop.
It was as if the universe was guiding me to that very spot because, inside that shop, I found not only beautiful fabrics and patterns but also a sense of community and belonging. The friendly faces and warm conversations I had there reminded me of the comforting embrace of a quilt.
Inspired by that experience, I decided to immerse myself in the world of quilting, and it has been a therapeutic and rewarding journey ever since.
Today, I am going to guide you through the process of making a simple half-square triangle quilt. This pattern is perfect for beginners and experienced quilters alike. It is versatile, and the design possibilities are endless. So, grab your quilting fabric, and let’s get started!
Description of the Theme
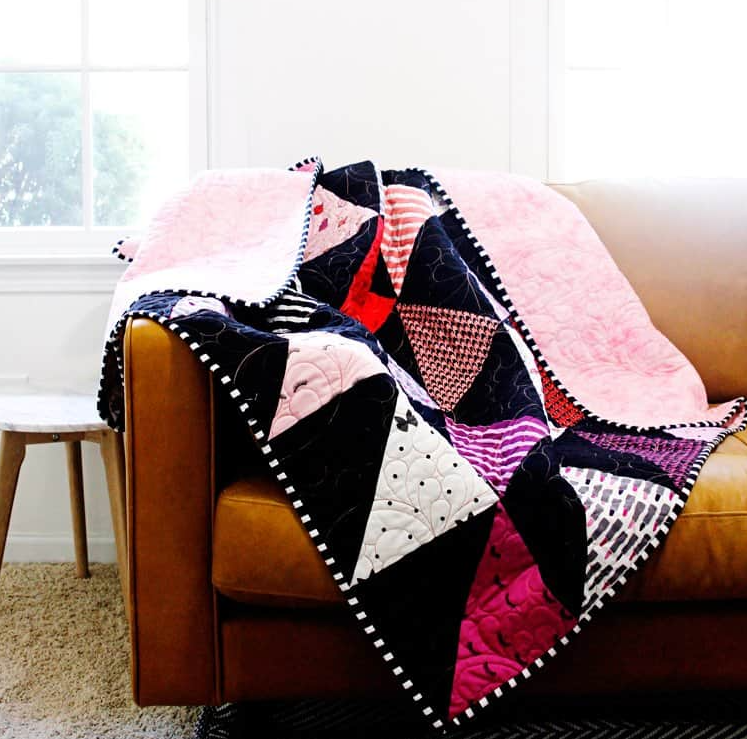
The half-square triangle, or HST, is one of the most fundamental and versatile units in quilting. It consists of two triangles, one light and one dark, sewn together to form a square.
This simple unit can be arranged in various ways to create stunning patterns and designs. In this tutorial, we will be making a quilt using the half-square triangle pattern featured on seekatesew.com.
Materials Needed
- Quilting Fabric: You will need two contrasting fabrics, one light and one dark. A fat quarter shop or quilt shops near you will have a wide selection of fabrics to choose from.
- Rotary Cutter and Mat
- Quilting Ruler
- Sewing Machine
- Thread
- Iron and Ironing Board
- Batting: Choose a batting that is suitable for the size of your quilt. For example, a queen size quilt will require a larger piece of batting.
- Backing Fabric
- Binding Fabric
Step-by-Step Instructions
- Prepare Your Fabric Start by washing, drying, and ironing your fabric to remove any sizing or wrinkles. Then, using your rotary cutter and mat, cut your fabric into squares. The size of the squares will depend on the desired size of your finished quilt. For this tutorial, we will be using 5-inch squares.
- Make the Half-Square Triangles Place two squares, one light and one dark, right sides together. Using a ruler and a pencil, draw a diagonal line from one corner to the opposite corner. Sew a quarter-inch seam on both sides of the drawn line. Cut along the drawn line to create two half-square triangles. Press the seams towards the darker fabric.
- Trim the Half-Square Triangles Using your quilting ruler and rotary cutter, trim the half-square triangles to the desired size. Make sure to trim off the little ‘dog ears’ at the corners.
- Arrange the Half-Square Triangles Lay out your half-square triangles on a flat surface and arrange them in a pattern that you like. There are many different ways to arrange half-square triangles, so feel free to get creative!
- Sew the Half-Square Triangles Together Sew the half-square triangles together in rows, and then sew the rows together to form the quilt top. Press the seams flat.
- Prepare the Quilt Sandwich Lay the backing fabric on a flat surface, right side down. Place the batting on top of the backing fabric, and then place the quilt top on top of the batting, right side up. Smooth out any wrinkles or bubbles.
- Quilt the Layers Together Using your sewing machine, quilt the layers together. You can quilt in straight lines, free-motion quilt, or use a quilting pattern. Make sure to secure the edges by sewing around the perimeter of the quilt.
- Bind the Quilt Cut strips of binding fabric and sew them together to create one long strip. Fold the strip in half, wrong sides together, and press. Attach the binding to the front of the quilt, mitering the corners, and then fold it over to the back and hand sew it in place.
Full Pattern: Click Here
Additional Tips and Tricks
Now that you have completed your half-square triangle quilt, here are some additional tips and tricks that can help you with future quilting projects:
- Chain Piecing Chain piecing is a technique where you continuously feed pieces through the sewing machine without cutting the thread between them. This technique is especially helpful when sewing together a large number of half-square triangles as it saves time and thread.
- Pressing Seams Properly pressing your seams is crucial for achieving a flat and smooth quilt top. Always set your seams by pressing them flat before pressing them to one side or open. Also, be mindful of the direction you are pressing your seams. It is often helpful to press seams in opposing directions so that they ‘nest’ together when sewing rows or blocks together.
- Squaring Up Taking the time to square up your half-square triangles before sewing them together will result in a much neater and more professional-looking finished quilt. Use a quilting ruler with a 45-degree angle line to help you trim your half-square triangles accurately.
- Choosing Fabrics The fabrics you choose for your quilt can significantly impact the overall look and feel of the finished product. When selecting fabrics, consider the contrast between the light and dark fabrics. A higher contrast will result in a more dramatic and graphic quilt, while a lower contrast will result in a softer and more subtle look.
- Quilting Design The quilting design you choose can add another layer of texture and interest to your quilt. Consider the scale and density of the quilting design in relation to the size and pattern of the quilt. For example, a dense quilting design may overwhelm a delicate and intricate quilt pattern, while a simple quilting design may not provide enough texture for a bold and graphic quilt.
Remember, the most important thing is to enjoy the process and have fun creating something beautiful with your own two hands. Happy quilting!
Congratulations, you have successfully made a simple half-square triangle quilt! I hope you enjoyed this tutorial and found it helpful. Remember, the key to successful quilting is practice and patience. Don’t be too hard on yourself if things don’t turn out perfect the first time. Keep practicing, and you will improve. Happy quilting!
Keywords: quilting, quilten, fat quarter shop, quilt shops near me, quilt patterns, free quilt patterns, quilt stores near me, t-shirt quilt, quilting fabric, barn quilt, queen size quilt, quilt shop, patchwork quilt, quilt, coverlet.


