Embark on a journey of color and creativity with the “Bejeweled Batiks Quilt.”
This enchanting quilt pattern, perfect for confident beginners and experienced quilters alike, showcases the rich and vibrant world of batik fabrics.
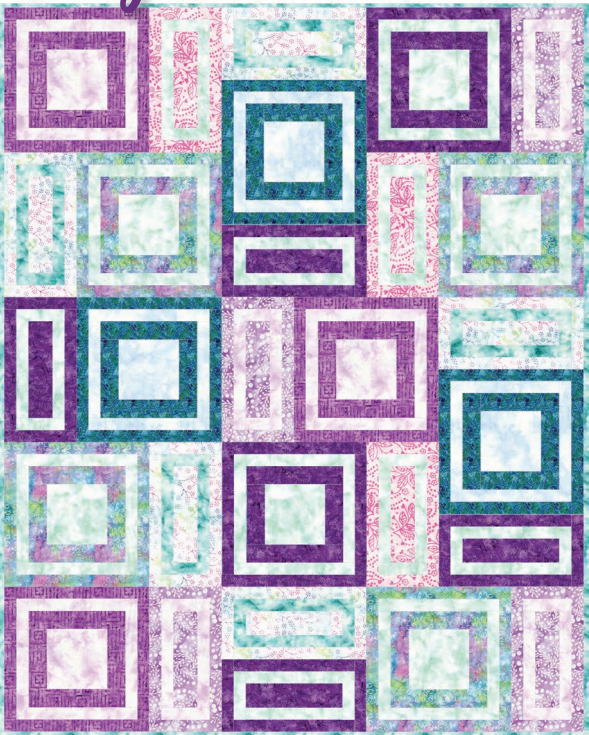
Measuring an impressive 48″ x 60″, this quilt melds traditional quilting techniques with a modern flair. As you delve into this project, you’ll not only enhance your quilting skills but also create a magnificent piece that embodies both artistry and elegance.
In this comprehensive guide, we aim to walk you through each step of crafting your Bejeweled Batiks Quilt, providing detailed instructions and tips to make your quilting experience both enjoyable and rewarding.
Assembling the Essentials for Your Bejeweled Batiks Quilt
The first step in creating your Bejeweled Batiks Quilt is to gather all the necessary materials. This quilt demands an array of batik fabrics, each adding its unique charm and vibrancy to the overall design. When selecting your batiks, consider the interplay of colors and patterns, as this will be pivotal in bringing out the quilt’s mesmerizing effect.
In addition to the fabrics, ensure you have a high-quality sewing machine, sharp cutting tools, a precise ruler, and an assortment of pins. Remember, the right tools can make a significant difference in your quilting process, turning a complex task into a smooth and enjoyable experience.
This section will also provide insights on organizing your workspace and preparing your tools, setting the stage for a successful quilting project.
The Art of Choosing Batik Fabrics
Selecting the right batik fabrics for your quilt is an art in itself. Batiks are renowned for their exquisite patterns and luminous colors, created through a traditional wax-resist dyeing process.
This section will delve into the nuances of choosing batik fabrics that complement each other while highlighting the quilt’s design.We’ll discuss the importance of color theory in quilting, helping you understand how different hues interact and influence the overall look of your quilt.
Additionally, we will explore pattern selection and scale, offering advice on balancing intricate batik designs to achieve visual harmony. The goal is to guide you in creating a palette that not only looks beautiful but also resonates with your personal style.
Full Pattern: Click Here
Preparing Your Fabrics: A Key Step
The preparation of your fabrics is a crucial step that should not be overlooked. Properly prepping your batiks involves several stages: washing, drying, and ironing. This process is essential to prevent any shrinkage or color bleeding that could affect your quilt’s appearance over time.
In this section, we will provide comprehensive instructions on how to handle batik fabrics, from the initial wash to the final press. We will also discuss the importance of fabric care and maintenance, ensuring that your efforts result in a quilt that is not only beautiful but also durable and long-lasting.
By taking the time to prepare your fabrics correctly, you lay the foundation for a quilting project that is both enjoyable and successful.
Materials List for the Bejeweled Batiks Quilt
- Batik Fabrics: A variety of batik fabrics in different colors and patterns, as specified in the quilt pattern.
- Cotton Batting: A piece of cotton batting sized to match your quilt top.
- Backing Fabric: Fabric for the back of the quilt, complementary to your batik fabrics.
- Sewing Machine: A reliable sewing machine suitable for quilting.
- Cutting Tools: Rotary cutter, cutting mat, and sharp scissors.
- Ruler: A clear quilting ruler for precise measurements.
- Quilting Pins: For securing the layers of your quilt sandwich.
- Threads: High-quality threads in colors matching or complementing your fabrics.
- Binding Fabric: Strips of fabric for the quilt’s binding.
Step-by-Step Guide to Creating the Bejeweled Batiks Quilt
- Fabric Selection: Choose your batik fabrics according to the color scheme and pattern requirements of the quilt.
- Cutting the Fabric: Precisely cut your batik fabrics as per the quilt pattern instructions, ensuring accuracy for a perfect fit.
- Arranging the Design: Lay out your cut pieces to finalize the quilt design, adjusting as needed for the best visual appeal.
- Piecing the Top: Begin sewing the cut pieces together, starting from the center and working your way out, paying attention to the alignment.
- Assembling the Quilt Sandwich: Lay out the backing fabric, place the cotton batting on top, and then add your quilt top. Secure all layers with quilting pins.
- Quilting the Layers: Quilt the layers together, either by machine or hand, following your desired quilting pattern.
- Trimming the Edges: After quilting, trim the edges of your quilt to prepare for binding.
- Binding the Quilt: Create and attach the binding around the perimeter of the quilt for a neat finish.
- Final Touches: Inspect your quilt for any needed adjustments and add any personal embellishments.
Caring for Your Batik Quilt
A quilt is not only a functional item but also an heirloom that can be cherished for years to come. Proper care and maintenance are key to preserving its beauty and integrity. In this section, we’ll provide essential tips on how to care for your Bejeweled Batiks Quilt.
We’ll cover topics such as cleaning, storing, and displaying your quilt, ensuring that it remains vibrant and intact for future generations. We’ll also discuss common issues that quilts face over time, such as fading and wear, and how to mitigate these concerns through proper care.
As we conclude this comprehensive guide, we reflect on the journey of creating the Bejeweled Batiks Quilt. From selecting fabrics and planning the layout to piecing, quilting, and binding, each step has contributed to developing your skills and deepening your appreciation for the art of quilting.
This section will not only celebrate your accomplishment in completing this beautiful quilt but also encourage you to continue exploring the vast and vibrant world of quilting. We hope that this project has inspired you to take on new challenges and that the skills you’ve honed will lead you to create even more stunning quilts in the future.


