One of my fondest memories growing up was the time I spent with my friends. We would spend hours playing, laughing, and creating memories that I still cherish to this day. As we grew older, we all went our separate ways, but we always found a way to stay connected.
SEE A NEW PATTERN HERE
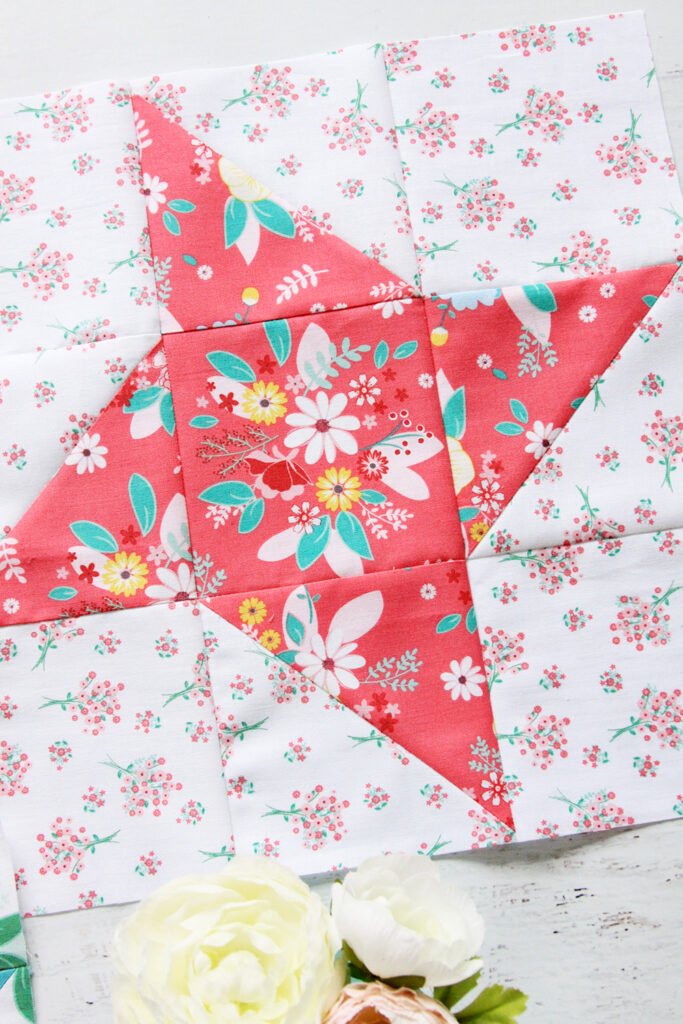
One of the ways we did this was through quilting. We would each create a block and then combine them to create a quilt, a tangible reminder of our friendship. Recently, I’ve been working on a Friendship Star Quilt Block, a block that reminds me of those times. And I’m excited to share the process with you.
The Friendship Star Quilt Block
The Friendship Star Quilt Block is a classic quilt block that has been around for many years. It’s a block that is simple yet visually stunning, a block that can be made in different sizes to suit your needs.
This block is part of the Riley Blake block challenge, and it’s been a joy to work on.
Materials Needed
The materials needed for the Friendship Star Quilt Block will depend on the size of the block you wish to make. You will need a variety of fabrics for the star and the background.
For my quilt, I decided to use fabric from my Sugarhouse Park fabric collection for Riley Blake Designs, as well as mixing in a few prints from collections past.
SEE A NEW PATTERN HERE
Step-by-Step Instructions
- Cutting the Fabric: For a 6 1/2″ unfinished block, cut 1 square 2 1/2″ x 2 1/2″ and 2 squares 3 1/8″ x 3 1/8″ from the main print. From the background print, cut 4 squares 2 1/2″ x 2 1/2″ and 2 squares 3 1/8″ x 3 1/8″. For a 12 1/2″ unfinished block, cut 1 square 4 1/2″ x 4 1/2″ and 2 squares 5 1/8″ x 5 1/8″ from the main print. From the background print, cut 4 squares 4 1/2″ x 4 1/2″ and 2 squares 5 1/8″ x 5 1/8″.
- Creating the Half Square Triangles: Mark a diagonal line on the wrong side of the larger background squares. Place a background square and a main print square right sides together. Sew a 1/4″ seam on each side of the marked line. Cut down the marked line. Open up the pieces and press the seam toward the darker fabric. Repeat for the remaining squares for a total of four half square triangles.
- Trimming the Half Square Triangles: For the 6 1/2″ unfinished block, trim the squares to 2 1/2″. For the 12 1/2″ block, trim the squares to 4 1/2″.
- Assembling the Block: Assemble the quilt block in rows as shown in the pattern. After the rows are assembled, sew the block together. Press row seams open.
Full Tutorial: Click Here
The Friendship Star Quilt Block is a beautiful block that captures the essence of friendship. It’s a block that is simple yet visually stunning, a block that can be made in different sizes to suit your needs.
Whether you’re a beginner or an experienced quilter, this block is a fun and rewarding project to undertake. So grab your materials, download the instructions, and start your quilting journey. Happy quilting!


