The first time I saw a Rail Fence quilt, I was at a local craft fair. Its simplicity, coupled with a striking zigzag pattern, drew me in instantly.
The quilt was a beautiful array of fabric strips arranged in blocks, creating a mesmerizing visual effect. That quilt was my inspiration, the spark that ignited my desire to create one myself.
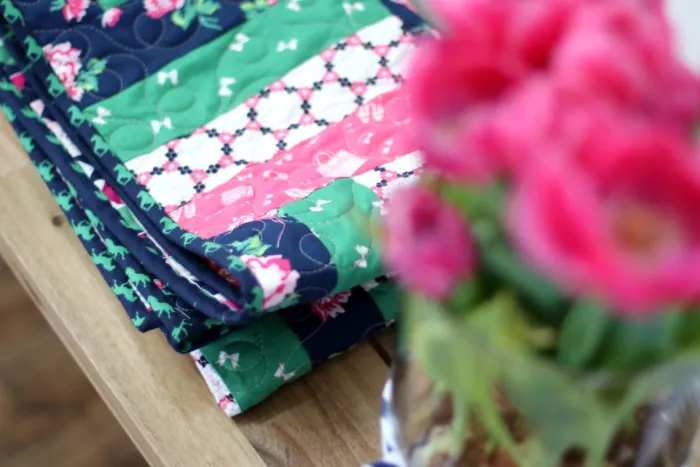
Today, I want to share with you a detailed tutorial for a quick Rail Fence baby quilt. This beginner-friendly project employs strip-piecing techniques to expedite the quilting process. Whether you’re a seasoned quilter or a novice, this tutorial will be a valuable guide.
Quick Rail Fence Baby Quilt
This quilt is a fast and beginner-friendly project that uses strip-piecing shortcuts for quick assembly. The finished quilt measures 40″ x 40″, making it perfect for a baby quilt.
Fabric Requirements
- ½ yard of 4 different prints
- ⅜ yard for binding
- 1 ¼ yard backing
Tips for Strip-Piecing a Quilt
Strip-piecing is a technique that involves sewing long strips of fabric together and then cutting them into blocks. Here are some tips to help you get started:
- Cutting and Sewing: Start by cutting 5 strips 2 ½″ x the width of the fabric (WOF) from each of the four main fabrics. Once you have your strips cut, sort them into 5 sets of strips, each set containing one strip of each fabric. Sew these strips together side by side to create 5 identical strip sets.
- Pressing Seams: After sewing the strips together, press the seams all in one direction. This will help your blocks lay flat and make it easier to sew them together. It also helps to prevent the fabric from warping or stretching.
- Cutting Blocks: Once your strip sets are sewn and pressed, you can start cutting your blocks. For this quilt, you’ll need to cut 5 blocks from each strip set, each measuring 8 ½″ x 8 ½″. Make sure to use a ruler and a rotary cutter for precise cuts.
Assembling the Quilt
- Creating the First Row: Start by laying out the first row of five blocks. Rotate the blocks in a way that creates a zigzag pattern. Sew them together using a ¼ inch seam allowance. After sewing, press the seams toward the vertical blocks. This is known as Row A.
- Creating the Second Row: Start the second row with a vertical block. Arrange the blocks in a way that complements the pattern of Row A – this is Row B. Sew the blocks together and press the seams toward the vertical blocks. This will help the seams nest when you sew the rows together.
- Creating Additional Rows: Repeat the process to create two more rows like Row A and one more row like Row B. Make sure to keep the pattern consistent.
- Sewing the Rows Together: Now, sew the five rows together. Alternate between Row A and Row B to maintain the pattern. Once done, press the seams in one direction. This will help your quilt lay flat and make it easier to add the backing.
- Finishing the Quilt: To finish the quilt, first, prepare your backing fabric by cutting it to the size of your quilt top. Then, layer the quilt top, batting, and backing together. Make sure to smooth out any wrinkles. Cut the binding fabric into 4 strips 2 ½″ x WOF and sew them end to end. Attach the binding to the quilt, and you’re done!
Full Pattern: Click Here
The Rail Fence quilt is a classic design that’s perfect for beginners. Its simplicity and the speed at which it can be assembled make it an ideal project for all. Whether you’re making it for a loved one or for yourself, this quilt is sure to be a treasured keepsake. So why wait? Grab your fabric and start quilting today!


