There are moments in life that stay with us, shaping our passions and guiding our choices. For me, one such moment happened at a local fair many years ago.
I was wandering through the stalls, admiring the handcrafted goods, when my eyes fell upon a quilt unlike any I had seen before. It was a Drunkard’s Path quilt, a beautiful tapestry of color and design that immediately captivated me.
The quilt was displayed by a lovely elderly woman, a seasoned quilter with a twinkle in her eyes and a passion for her craft that was palpable.
She told me about the Drunkard’s Path pattern, how it was one of her favorites because of its versatility and the creative freedom it offered.
She spoke of the hours she spent selecting the perfect fabrics, cutting each piece with precision, and then sewing them together to create the intricate design. Her words painted a picture of a labor of love, a testament to patience, skill, and creativity.
That day, I left the fair with a newfound appreciation for quilting and a burning desire to create my own Drunkard’s Path quilt. Today, I want to share that passion with you.
I want to guide you through the process, step by step, so you too can experience the joy of creating your own Drunkard’s Path – Flower Patch quilt.
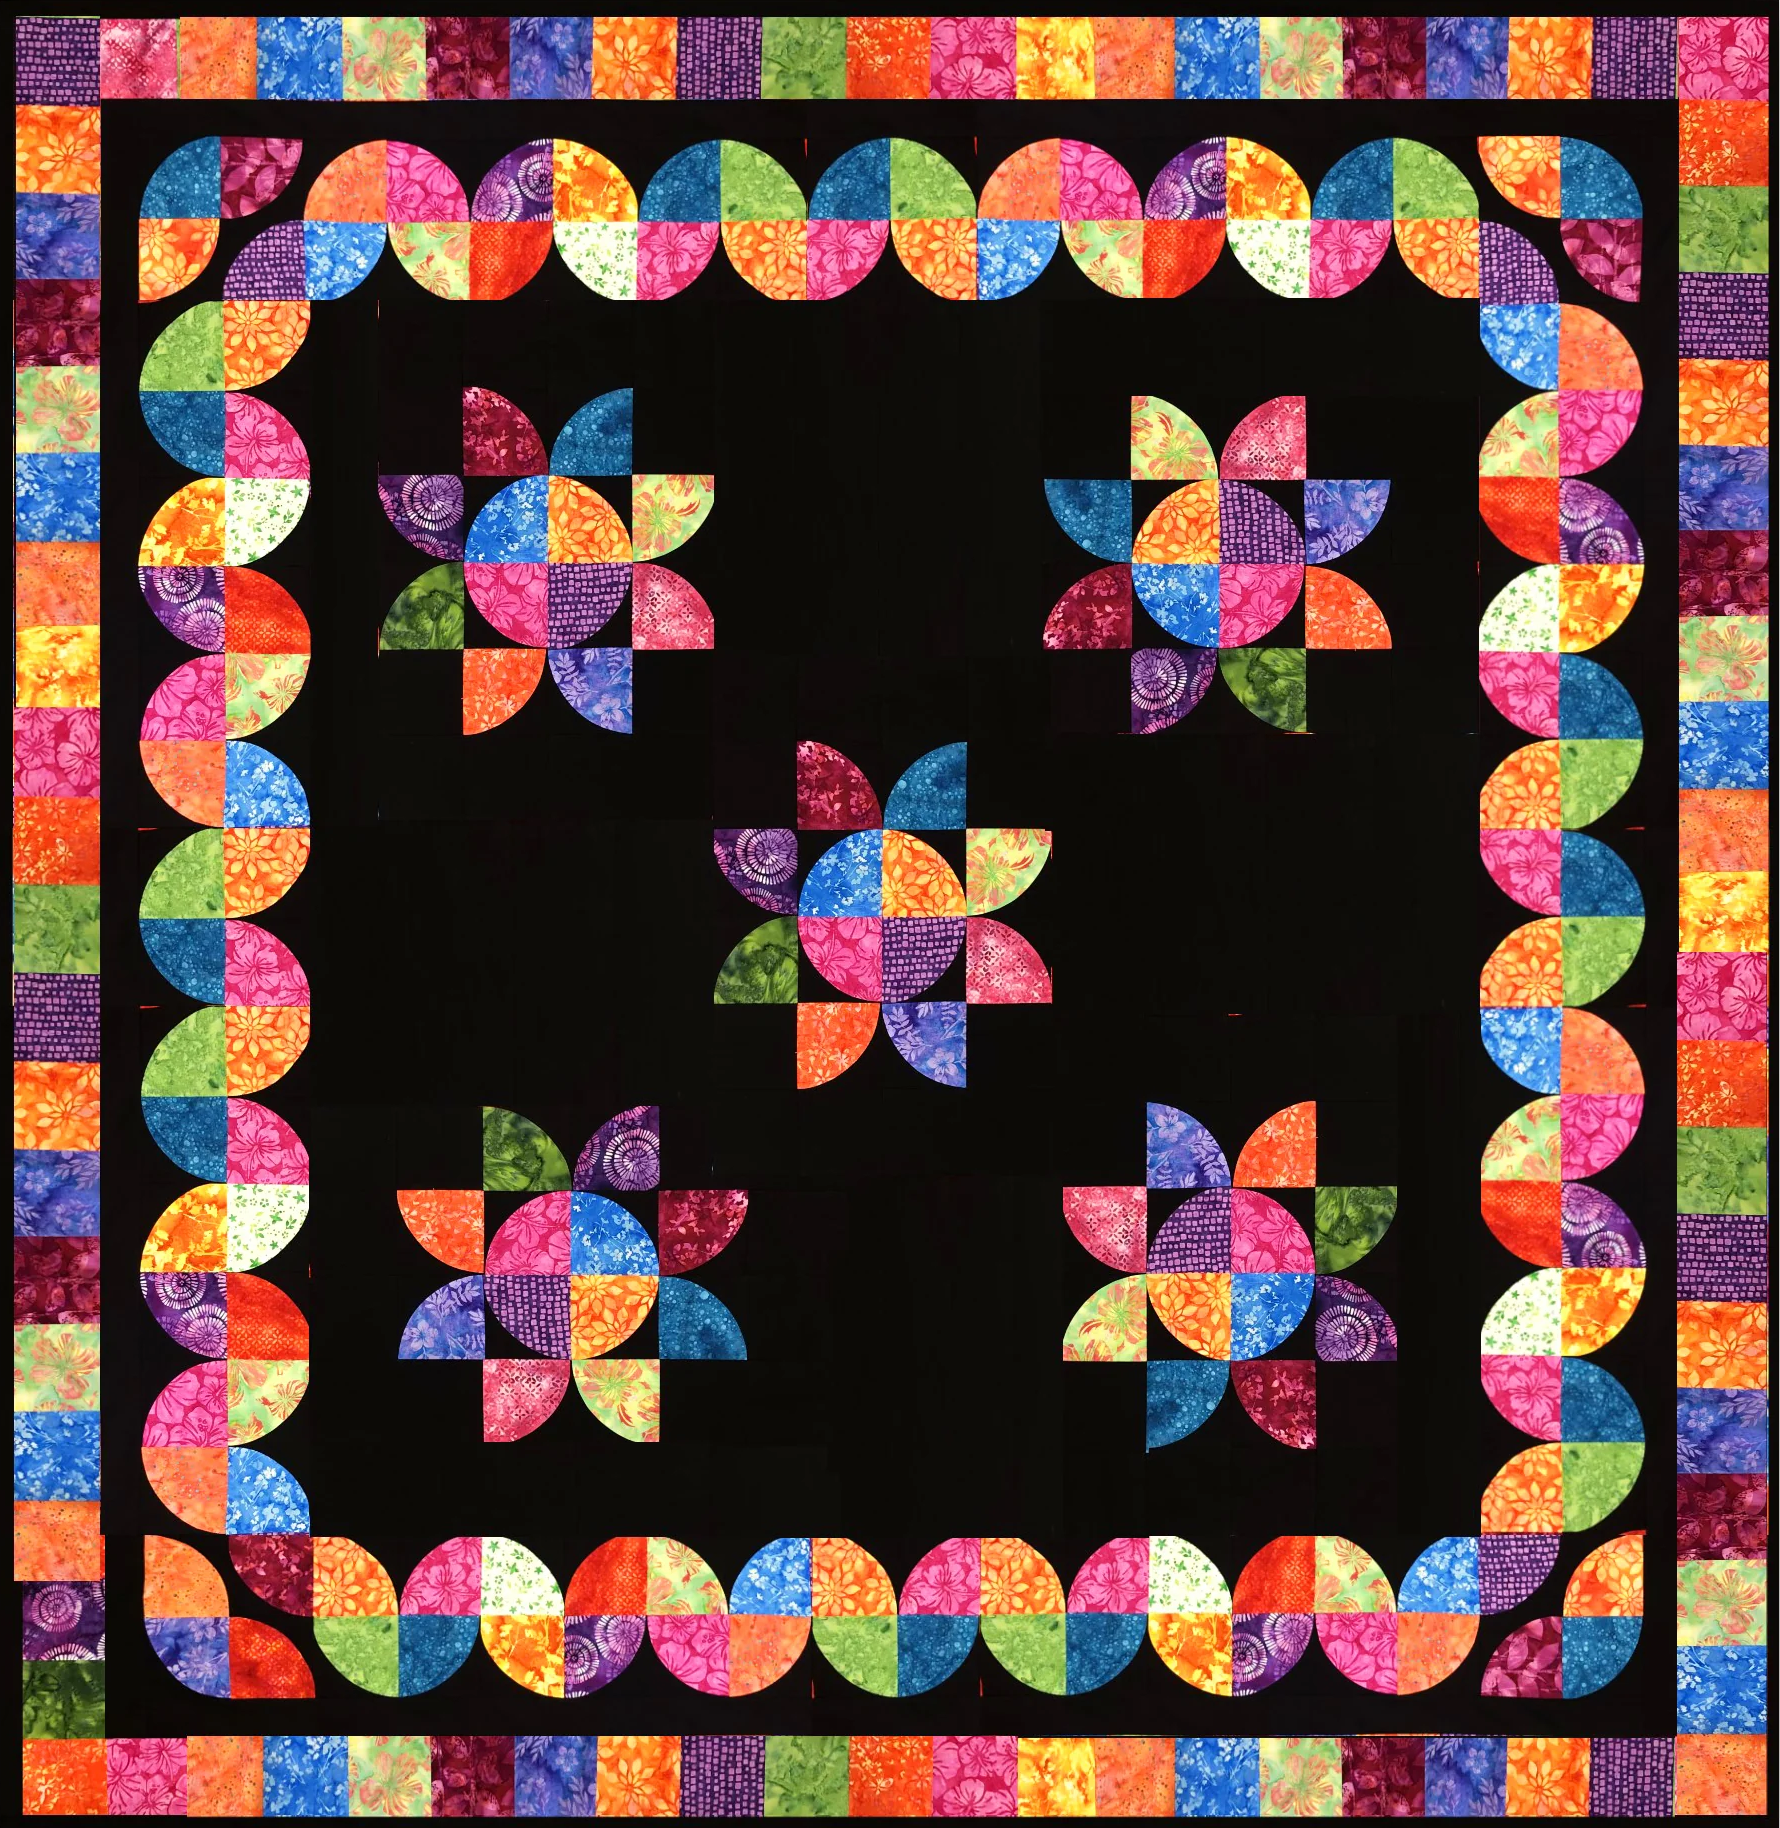
The Drunkard’s Path – Flower Patch Quilt
Designed by Donna Jordan for Jordan Fabrics, the Drunkard’s Path – Flower Patch quilt is a stunning piece of art. With a finished size of 84 x 84 inches, it’s perfect for a cozy blanket or a decorative wall hanging. The pattern is versatile, allowing for a variety of fabric choices and color schemes.
Materials Needed
To create this quilt, you will need:
- 23 Fat Quarters OR 268 – 5” Charm squares OR 67 – 10” Layer Cake squares
- 5 ½ Yards solid black for background and inner border
- ¾ Yards solid black for binding
- Cutright Slit ‘N Sew 6” Drunkard’s Path Template Set
- 6 ½ yards backing
Step 1: Preparing the Fabric
The first step in creating your Drunkard’s Path – Flower Patch quilt is to prepare your fabric. Select 23 Fat Quarters or 268 – 5” Charm squares or 67 – 10” Layer Cake squares, depending on your preference. Cut each fat quarter into 5” squares for patchwork blocks. You need 188 -5” squares for the Drunkard’s Path blocks. Set aside 80 squares to be trimmed down to 4 ½” for the pieced border. This step requires precision, so take your time and ensure each square is cut accurately.
Step 2: Cutting the Convex Curved Template
Next, from each of your 188 – 5” squares use the convex curved template to cut one piece. This is easiest with a 45mm or 28mm rotary cutter. Make a small cut (about 1/8”) in each of the slits. This can be done with a small rotary cutter, but I found it to be easier to make small marks with chalk and then to cut each mark with small scissors. This step is crucial as it shapes the unique pattern of the Drunkard’s Path quilt.
Step 3: Preparing the Black Background
For the black background, cut 17 @ 4 ½” WOF. Sub-cut cut 136 – 4 ½” squares. Cut 16 @ 6” WOF (width of fabric). Sub-cut 94 – 6” squares. Use the concave template to cut two pieces. Place the 4 ¾” placement line along the outside edges of the background square. Mark and cut each of the slits. The black background provides a stunning contrast to the colorful patchwork blocks, highlighting the intricate design of the quilt.
Step 4: Stitching the Pieces
Now comes the exciting part – stitching the pieces together. Following the instructions that come with the Cutrite Template Set, place a convex piece on top of a black concave background. Slowly stitch using ¼” seam allowance and matching the slits. Press the seam allowances toward the printed convex piece. This step requires patience and precision, but the result is worth it.
Step 5: Trimming the Blocks
Once you’ve stitched the pieces together, it’s time to trim each block to 4 ½” square. Make sure to trim off both sides of the printed convex piece. This step ensures that each block is uniform, resulting in a neat and professional-looking quilt.
Step 6: Laying Out the Blocks
After trimming the blocks, lay out the pieced blocks and the black background squares. This step allows you to visualize the final design of the quilt and make any necessary adjustments.
Step 7: Creating the Borders
Finally, it’s time to create the borders. Cut 8 @ 2 ½” WOF from the black background. Stitch into one long piece and stitch onto all 4 sides of the quilt. For the pieced border, stitch 19 of the 4 ½” printed blocks into a row. Stitch onto the top of the quilt. Repeat for the bottom of the quilt. Repeat for the side borders using 21 blocks. The borders frame the quilt, adding a finishing touch to the design.
With these detailed steps, you should be able to create your own Drunkard’s Path – Flower Patch quilt. Remember, quilting is a journey, so take your time and enjoy the process. Happy quilting!
Full Pattern: Click Here
And there you have it, the journey of creating your very own Drunkard’s Path – Flower Patch quilt. From selecting the perfect fabrics to cutting and piecing together each block, every step is a testament to your creativity and patience. As you look at your finished quilt, I hope you feel a sense of accomplishment and pride. You’ve not only created a beautiful piece of art but also carried on a tradition that has been passed down through generations.
But the journey doesn’t end here. Each quilt you create is a new adventure, a new story to tell. So, I encourage you to keep exploring, keep creating. Try new patterns, experiment with different fabrics, push the boundaries of your creativity. Because that’s the beauty of quilting. It’s more than just a craft; it’s a form of self-expression, a way to tell your story through fabric and thread.
So, as you wrap yourself in your Drunkard’s Path – Flower Patch quilt, remember the journey you took to create it. Cherish the hours of work, the patience, the creativity that went into each stitch. And know that you’ve created more than just a quilt. You’ve created a piece of art, a piece of history, a piece of yourself. And that, my dear quilters, is truly something to be proud of. Happy quilting!


